Welcome to the May HO, HO, Ho and On We Sew link party!
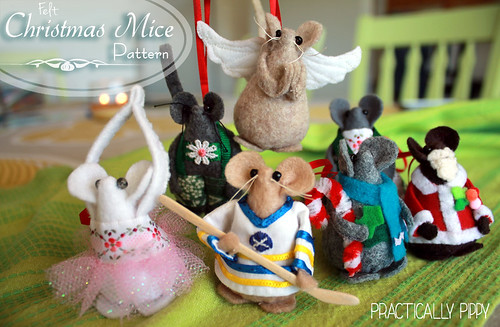
This is my second year participating in the Ho, ho, ho link party and I'm thrilled to be this month's host with a fun little Christmas Mouse Ornament pattern.
Every month on the 18th, Paula at Mud, Pies, and pins and Fiona at Celtic Thistle Stitches will be hosting a link party where we can showcase our work and get inspired and motivated by each other to get going on our Christmas decor and gifts throughout the year. There is also a wonderful giveaway for entering the linky party.
Katie has donated this lovely Mini Rice Bag Kit for one lucky winner, it is just perfect for gift wrapping something special.
Printed pattern sheet
Felt in any desired mouse color
Stuffing
Thread
Glue (optional)
Black beads in size 6/0 or similar
1/8th inch ribbon for hanging
scraps of fabric, ribbon, buttons, etc for decorating your mouse
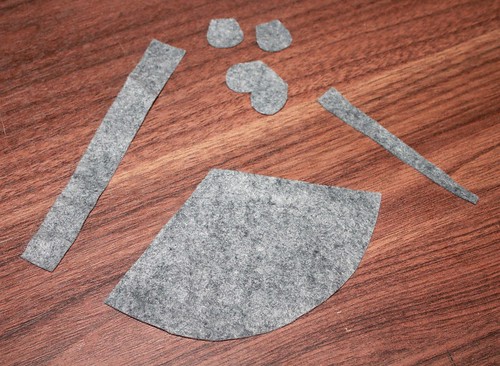
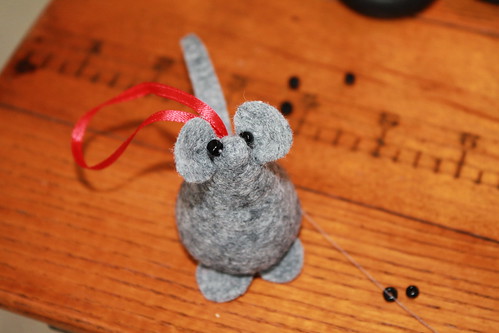
No matter how you dress your mouse, they each start with the same basic felt body. Download the pattern here and print it out without scaling. Using the pattern, cut each piece out of your felt.
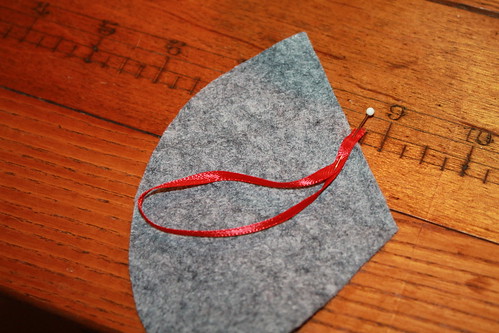
If you will be using your mouse as an ornament, you will need to cut a 7 inch piece of ribbon out now and pin it to your mouse on the dot as shown. Make sure to put the ribbon on the inside of your mouse so that it will be on the outside when you flip your mouse right-side-out.
While you can easily sew each mouse by hand or even glue them together, I use my sewing machine to put together the main part of the body and the arms. Fold the edges of the body together and sew them using a 1/4 inch seam allowance.
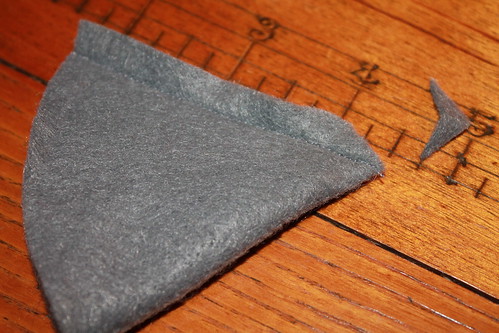
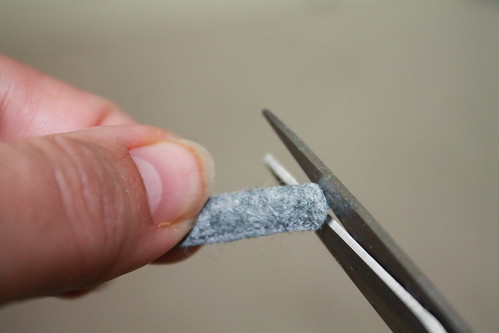
Cut the excess fabric off the tip of your mouse body before flipping it right-side-out so that you will not have to fight with this bulk later. Flip your mouse body right-side-out and use a pointy tool to help shape the tip of the mouse.
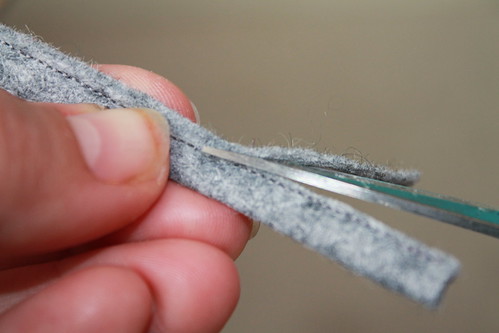
While you're still at your sewing machine, fold the arm piece together along the dotted line and sew the raw edges down using a narrow 1/8th inch seam allowance. You will then need to carefully trim away the excess fabric above the stitches so that the arm wont be so bulky.
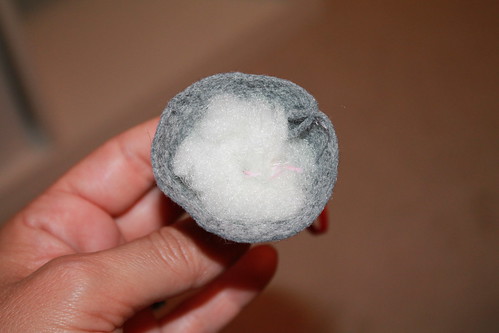
Set the arm aside for now and fill your mouse firmly with stuffing to about a 1/4 inch from the top.
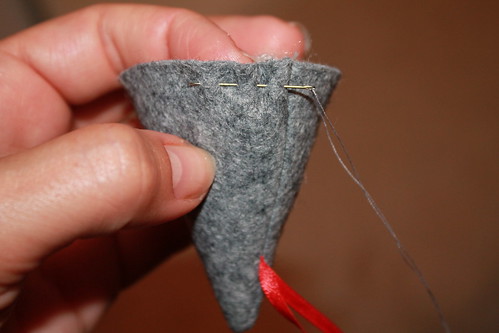
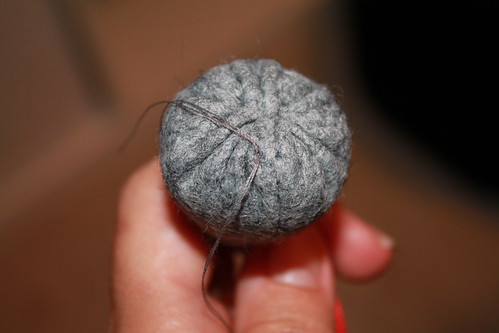
To close your mouse you will need to run a gathering stitch all the way around the base using a DOUBLED UP length of thread.
Leave a long enough tail of thread on both ends so that you can use them to tightly pull your mouse body closed. While you're pulling the bottom closed, tuck the seam allowance into the mouse with your finger or a pencil so that you end up with a flat bottom and secure it with a knot.
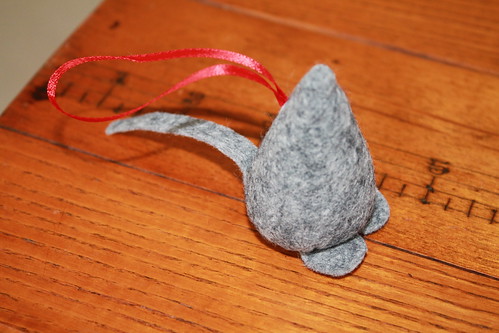
Position your mouse feet and tail as shown and either sew or glue them to the bottom of the body.
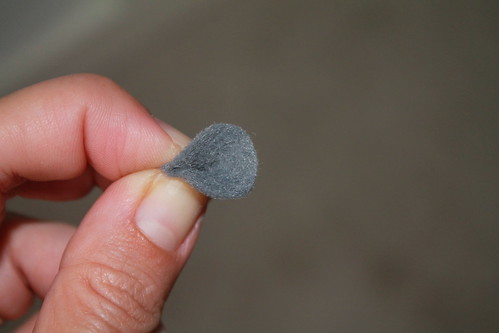
Pinch your mouse ear together along the dotted line and use a dot of glue or threat to secure the fold.
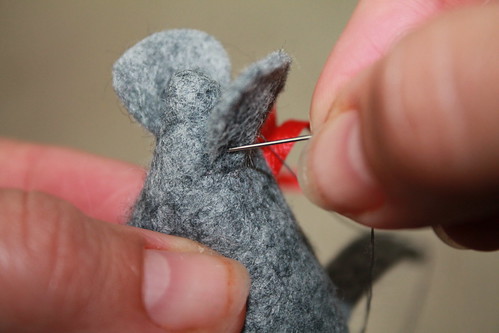
Positioning the bottom of your ear about 1/2 down from the tip of the mouse, secure it in place with either thread or glue.
Now it's finally time to sew or glue the beads on either side of the head above the ears for the eyes. This is my favorite part because it is when the mouse really starts looking alive to me. The next best part is putting on the arms.
You may be wondering at this point why the arms are going on last. Wouldn't it make more sense to put them on earlier? Well, if you are going to leave your mouse naked, you could do it before the ears and eyes. The problem is that how your mouse is dressed is going to effect how you place and secure down the arms.
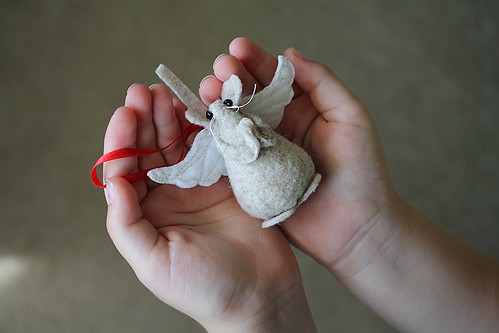
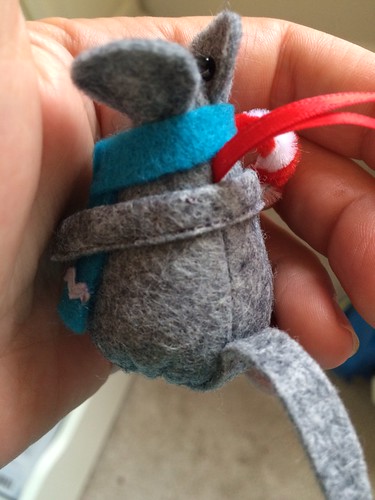
The arms can be the most expressive part of your mouse and how you position them is going to be a huge part of who your mouse is. No matter how you bend the arms, I like to round off the tips to give the appearance of hands.
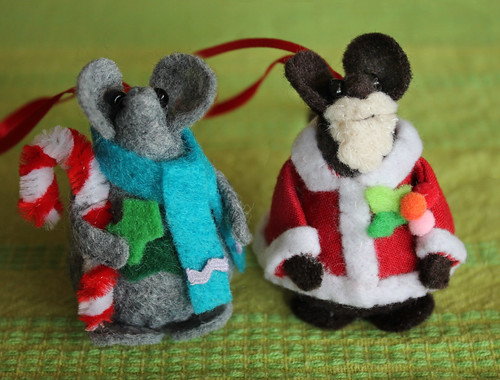
The winter mouse above is a good example of how I normally place the arms by wrapping them around the upper body. You'll notice in the pattern that the arms seem extremely long. This is so you'll have enough length to bend and shape your arms into place, and you can easily cut off any excess length.
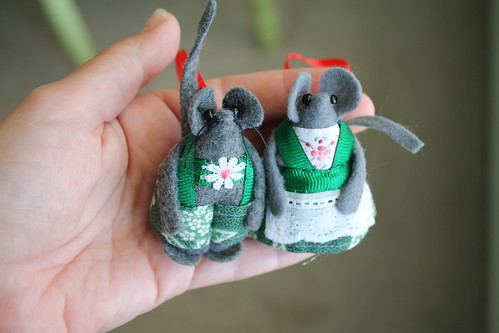
Both these German mice have arms that are wrapped around their bodies because her dirndl and his lederhosen don't interfere with that placement.
Yeah, I had to make some German mice in honor of all the Christmas seasons I enjoyed in Germany :)
Adding a shirt or coat to your mouse, like with this Santa mouse, means that you will need to cut your arms in half and stuff them up the sleeves of the shirt. Wrapping them around the back is not only bulky this way, it is nearly impossible to get a shirt on a mouse that has his arms already attached.
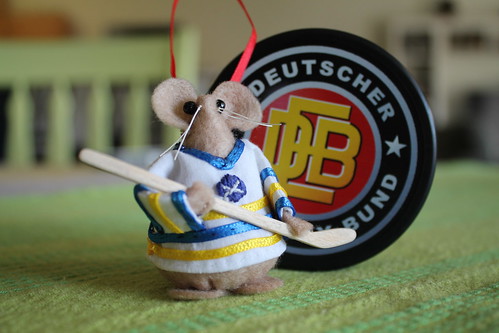
I really love this Buffalo Sabres hockey mouse because we are big fans in my house (and I have to admit that I loved whittling the hockey stick). He was great fun to make and is a good example of how to take the basic shirt pattern (which is included) and customized it. The shirt and coat patterns can easily become nurse scrubs or Santa coats.
I'm not going to give a full tutorial on how to make the mouse clothes here, but I do want to say that the patterns included for the shirt and coat are meant to be stitched with a very narrow seam allowance of around an 1/8th inch. Also, the length of the sleeves and coat are best finished by hand when the clothing is on the mouse and details like the V-neck worn by the hockey mouse are clipped once the basic shirt is on the mouse.
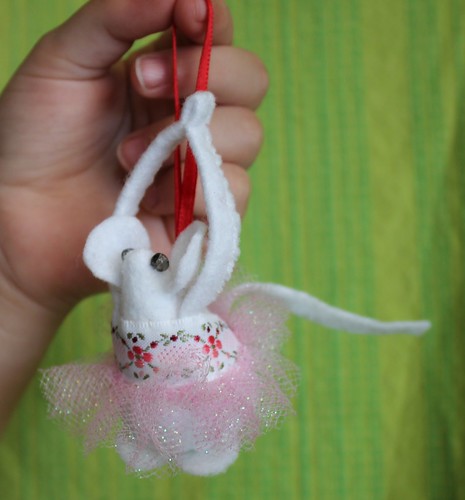
But, you don't need to spend time sewing mouse clothing to have a really great and fun mouse. This ballet mouse looks great and is dressed with a piece of ribbon and some tulle.
With a little imagination, you could really do anything with one of these mice and they make great gifts for friends and family.
Now it's time for you to link up and show us all what you've been up to this month! Plus, you'll get a chance to win the mini rice bag kit from Japan Crafts!
I can't wait to see all of your holiday creations and, as always, a big thank you to all of our lovely giveaway sponsors.
  |
http://www.patchworkelephant.com/  |

