Welcome to the November HO, HO, Ho and On We Sew link party!
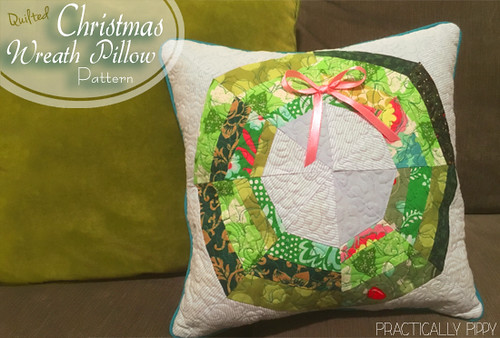
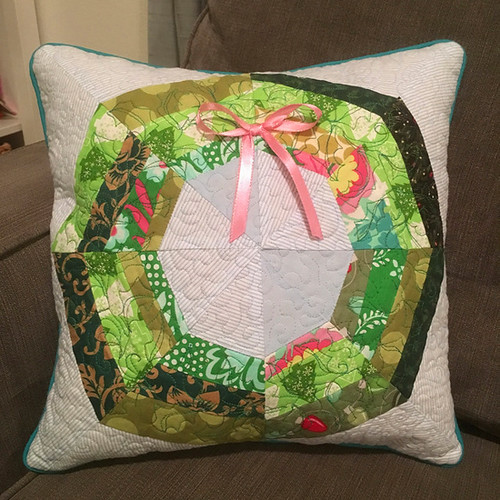
I can't believe how fast this year has gone by! It's already November (crunch time), and if you've been following along all year, I know that all your Christmas gifts are made and out the door by now :-) What? you still need to make just one more little gift for someone? If you think that you can squeeze in just one more Christmas make, then how about a modern, fun Christmas wreath pillow to adorn your favorite chair, couch, or bed.
Every month on the 18th, Fiona at Celtic Thistle Stitches will be hosting a link party where we can showcase our holiday makes and get inspired and motivated to work towards our Christmas project goals throughout the year. There is also a wonderful giveaway for entering the linky
This month's prize of 5 FQ's from the Northern Lights collection was kindly provided by Justin of Simply Solids. Go to Simply Solids to get a look at the lovely fabrics. I'm personally in love with the Polar Bears!

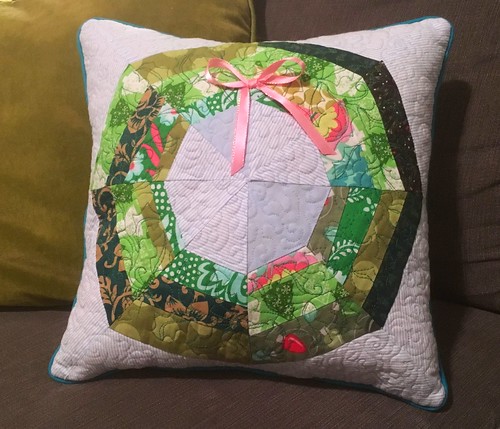
For this months project, I want to share a fun, easy, and fast little wreath pillow that you can make as a quick gift or use to add a little more holiday cheer to your home. The pillow measures 14 inches finished. This is a foundation paper pieced pattern. If you've never foundation pieced before, there are many great tutorials on YouTube that will teach you how. Connecting Threads has a great one that you can find here.
Printed pattern sheets
Stuffing
Thread
Assorted Christmas fabric strips or scraps
Plain background fabric
batting
1 pkg 1/2" bias piping or around 2 1/2 yards of piping (optional)
5/8th inch ribbon for the bow (optional)
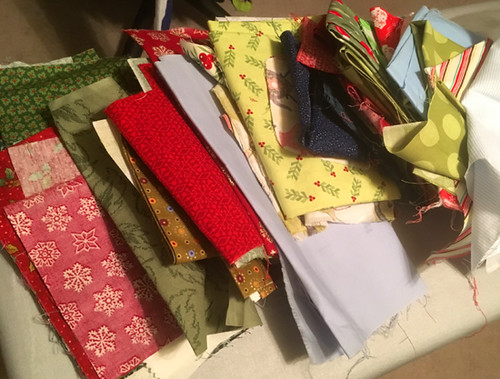
First, download the pattern here and print four of each piece A and piece B. Make sure you print the pieces without scaling to ensure you get the proper size. Next, collect a variety of fabric scraps from the various projects that you've been sewing all year :) and a plainer fabric to use as the background for the wreath shape.
The strips that make up the center portion of your wreath are not mapped out for you. This gives you the option to do one solid piece of fabric for your wreath section or randomly add strips like I did.
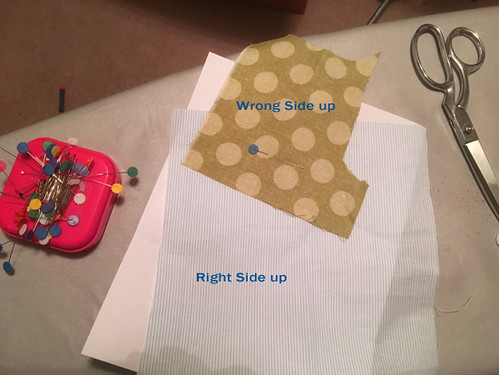
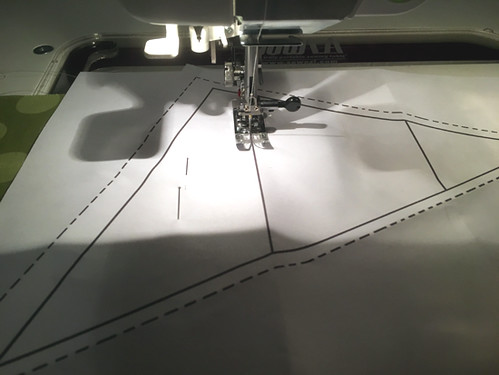
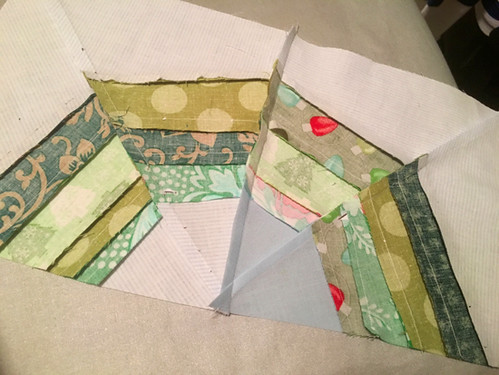
Sew along the printed line to connect your first two fabrics together. Trim, flip and press your block so that the right sides of both fabrics face up. If this is confusing to you, go see the foundation tutorial!
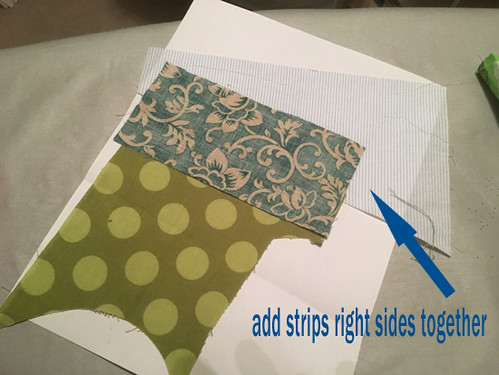
If you choose to do strips, the only thing you need to be careful to do is to sew a straight line across the whole wreath section and leave a 1/4 extra fabric for the seam allowance. Keep adding Christmas fabric strips in various widths to your block until section 2 is completely filled. Every strip will need to be trimmed, flipped, and ironed for the best result. Use another piece of background fabric for section 3 to complete your block.
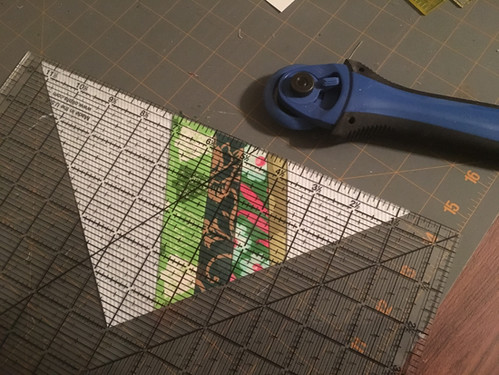
Complete 4 "A" pieces and 4 "B" pieces then trim them.
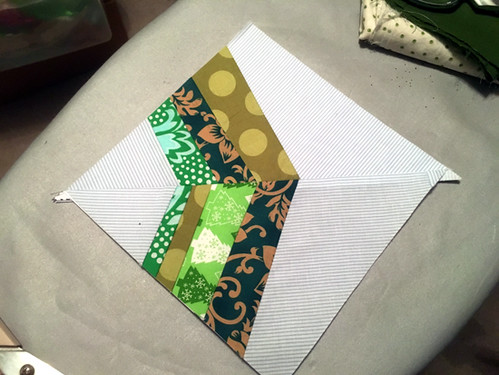
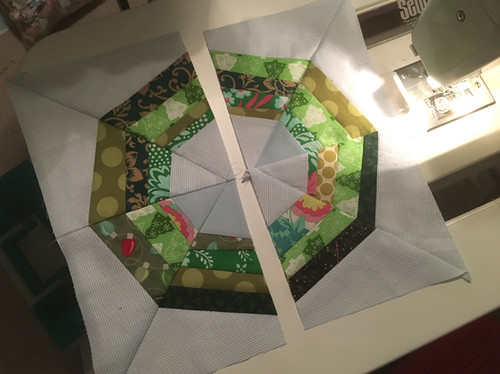
Lay out all your pieces and arrange them according to the pattern in a way that is pleasing to you, and then sew an "A" and "B" triangle together so that you have four square blocks.
Sew two squares together and press the seams all in the same direction.
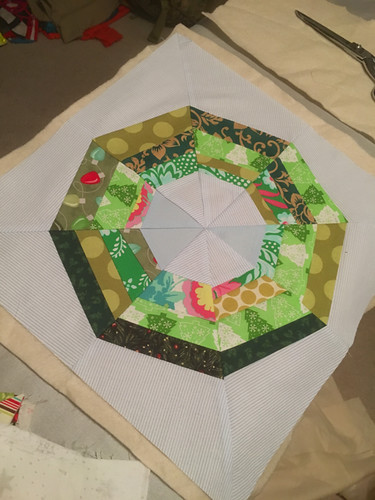
Then sew your two pillow halves together.
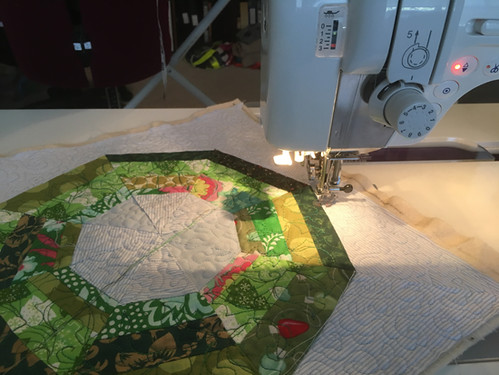
Layer your pillow top onto a piece of batting or felt (I used felt) and quilt as desired.
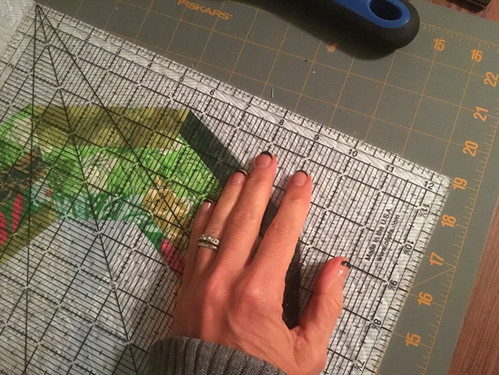
Square up and trim your pillow top. Depending on how heavily you quilted your pillow top, the final dimensions might not measure exactly 15x15 so be aware of this when you are squaring up.
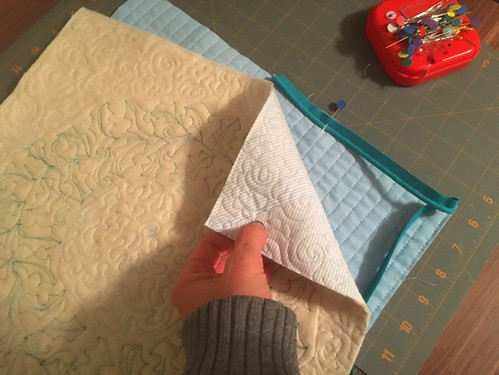
To make the back of your pillow. Measure the final size of your trimmed top and cut a piece of fabric a 1/2 inch bigger on all sides. So, if your top measured exactly 15 inches square, cut your backing piece 16 inches square. Layer the back fabric on top of a piece of batting or felt and quilt as desired.
Once quilted, the backing piece should be cut the same size as the front. I did it this way so that your back piece wont end up too small for the front piece due to quilting shrinkage.
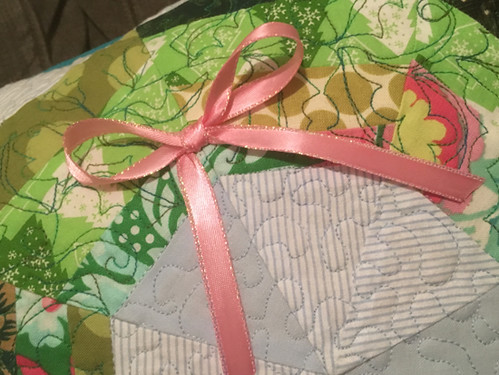
If you want to add any ribbons, buttons, or other embellishments to the front of your pillow, it's easiest to do it now. I added a pink bow (red would have been more Christmasy, but I'm feeling the pink this year). Let your imagination run wild or just leave it clean and simple.
Stack your pillow front and back right sides together and sew a 1/2 inch seam at the perimeter leaving a hole that you can use to add the stuffing. I inserted a piece of piping on my pillow, but your don't have to. Trim your corners and flip the pillow right-side-out.
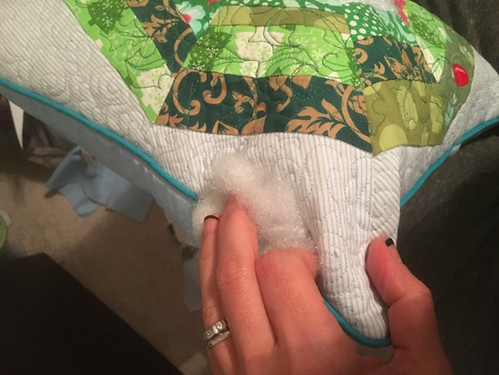
Stuff your pillow and close up the hole by hand or machine. I do it by hand for a cleaner look, but if you don't mind a line of stitching, you can use your sewing machine. You could also make the cushion with a zipper closure or an envelope back if you wanted to be able to change out your look easily.
Your pillow is now ready to enjoy! I hope you found my pattern fun, easy, and adorable!
I can't wait to see what you've all been up to this month so be sure to link up here!
I also want to give a huge thank you to all the sponsors who participated in this years HO HO HO and on we sew link party!!! You all ROCK!




A lovely cushion, Karen.
ReplyDeleteThe cushion is so cute!
ReplyDeleteLove the cushion Karen! A great addition to the Ho Ho Ho and on We Sew archive :)
ReplyDeleteThat is a FANTASTIC pillow - pinning for next year - not only would it bust some stash, it would also be a great item to make as a gift!
ReplyDeletesuch a ncie desigsn ( Online digitizing service amzing (&
ReplyDelete