Tip 1: Burlap
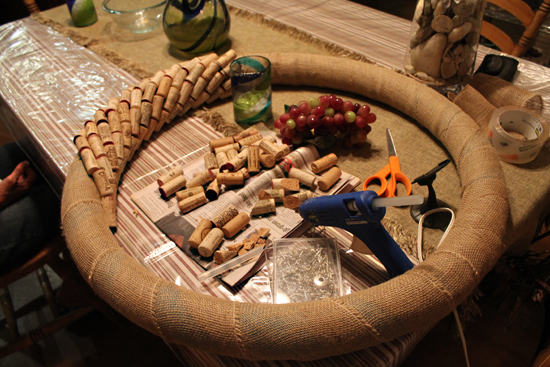
As you can see, I covered the form with wide burlap ribbon so that the corks would have something to grip onto when I hot glued them down. The burlap is also the perfect color base for the wreath so your gaps don't show the pool noodle color (no one wants blue pool noodle poking out form under their cork).
Tip 2: Sort your corks
The part that I found the most fun was choosing the individual corks to go on the wreath. There are so many really cool ones out there to choose from; plus, I put a few special ones on the wreath too.
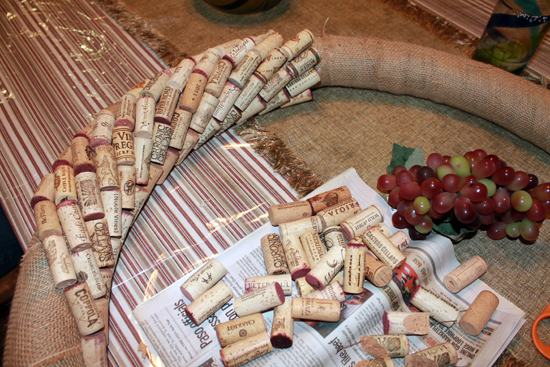
But, before you start gluing, sort out the small, long, and special corks. As I put the corks around the wreath, I found that sometimes I needed a smaller or bigger one to make my row fit right. I even had to cut a few corks down a bit to finish my row, but I always hid those ones at the back.
Tip 3: Placement
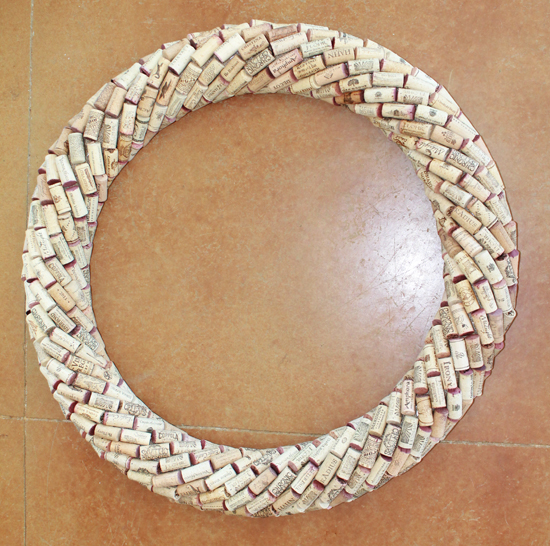
I did a lot of looking around the internet at different cork wreaths before I designed this one and I didn't see any that twisted the corks around like I did here, maybe it's because getting the placement right is hard. If you're using a pool noodle like I did then I found that 6 corks per row was just perfect. Once you get your first few rows in place it's important to make sure that you re-adjust your corks as you go so the angle stays the same all the way around. Because corks are not all uniform in size, it's easy to loose the angle.
Tip 5: Add a hanger before you glue the last few rows.
It took exactly 365 corks to cover this wreath, two bags of full sized glue sticks (not minis), and three days that involved wine and margaritas. I blame the spot that got a bit wobbly on the margaritas :) Just a note. This wreath turns out pretty heavy so make sure to use a sturdy length of wire to make a hanger before you add the last few rows of cork. There is no good way to wrap a wire around the corks after you finish.
Tip 6: Support the weight at the top and bottom
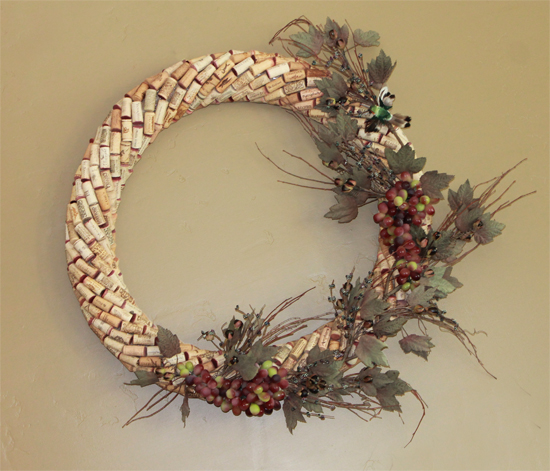
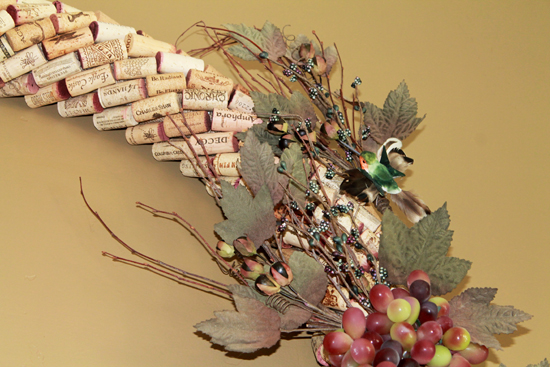
Even though I loved this wreath plain, I wanted to add a few wine country touches with grapes, leaves, and even a humming bird. I love the little hummer because my parents always have a zillion hanging around their feeders. When we hung this wreath, we used a 25lb picture frame hanger at the top, but also supported the weight of the wreath with a nail at the bottom to keep the wreath from sagging. The bottom just sits on a large nail secured into the stud.
Tip 7: Choose a very even form
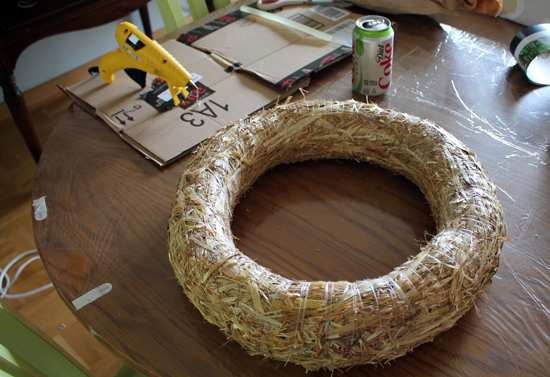
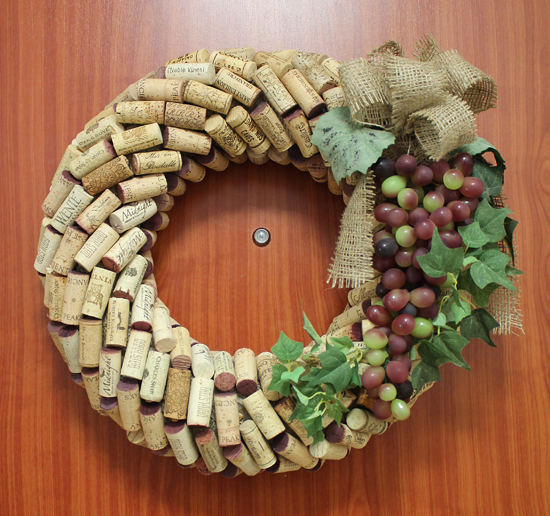
When I made the smaller version of this wreath for my front door, I only supported it from the top, but I used a lot of the same construction tips from the big wreath. I only wish that I hadn't used a straw form because it is not uniform enough all the way around to keep the corks from getting off track. I should have made another pool noodle form or bough a foam form so that I didn't have to deal with the the wobbles in the straw.
I love how the door version turned out too, and I'm happy to have a nice wreath to celebrate the end of summer for my door. I hope that my tips can help you make your own wreath to decorate your home.
How everyone else is celebrating the last part of summer? Any special trips, activities, or projects planned?


Very very beautifull création, greeting from Belgium
ReplyDeletehttp://louisette.eklablog.com/mes-autres-blogs-p842116
I have no idea what a pool noodle is Karen, but it makes a great wreath :)
ReplyDelete