Showing posts with label Christmas. Show all posts

Sunday, November 20, 2016

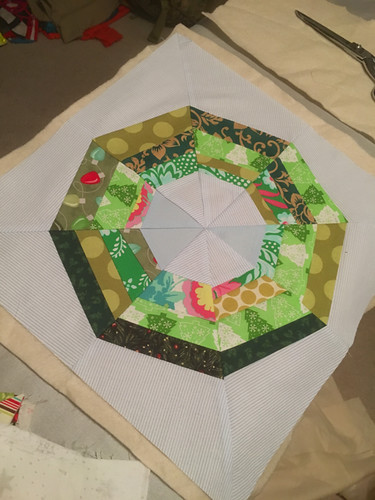
Quilted Christmas Wreath Pillow

Welcome to the November HO, HO, Ho and On We Sew link party!

I can't believe how fast this year has gone by!  It's already November (crunch time), and if you've been following along all year, I know that all your Christmas gifts are made and out the door by now :-)  What? you still need to make just one more little gift for someone?  If you think that you can squeeze in just one more Christmas make, then how about a modern, fun Christmas wreath pillow to adorn your favorite chair, couch, or bed.
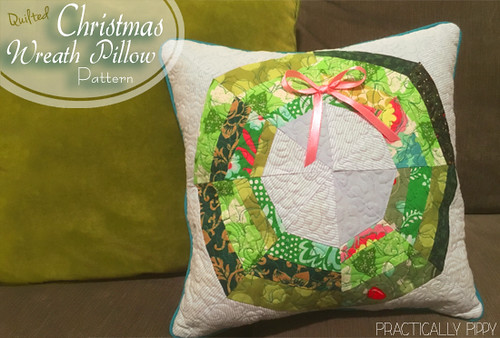
Modern Quilted Christmas Wreath Tutorial at http://www.practicallypippy.blogspot.com

Every month on the 18th, Fiona at Celtic Thistle Stitches will be hosting a link party where we can showcase our holiday makes and get inspired and motivated to work towards our Christmas project goals throughout the year. There is also a wonderful giveaway for entering the linky

Celtic Thistle Stitches

This month's prize of 5 FQ's from the Northern Lights collection was kindly provided by Justin of Simply Solids.  Go to Simply Solids to get a look at the lovely fabrics.  I'm personally in love with the Polar Bears!

SS_logo_RGB_high

For this months project, I want to share a fun, easy, and fast little wreath pillow that you can make as a quick gift or use to add a little more holiday cheer to your home.  The pillow measures 14 inches finished.  This is a foundation paper pieced pattern.  If you've never foundation pieced before, there are many great tutorials on YouTube that will teach you how.  Connecting Threads has a great one that you can find here.
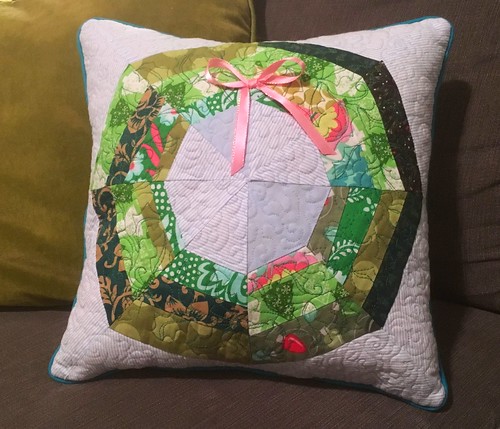
Modern Quilted Christmas Wreath Tutorial at http://www.practicallypippy.blogspot.com

To make the pillow you will need:
Printed pattern sheets
Stuffing
Thread
Assorted Christmas fabric strips or scraps
Plain background fabric
batting
1 pkg 1/2" bias piping or around 2 1/2 yards of piping (optional)
5/8th inch ribbon for the bow (optional)


First, download the pattern here and print four of each piece A and piece B.  Make sure you print the pieces without scaling to ensure you get the proper size.  Next, collect a variety of fabric scraps from the various projects that you've been sewing all year :) and a plainer fabric to use as the background for the wreath shape.
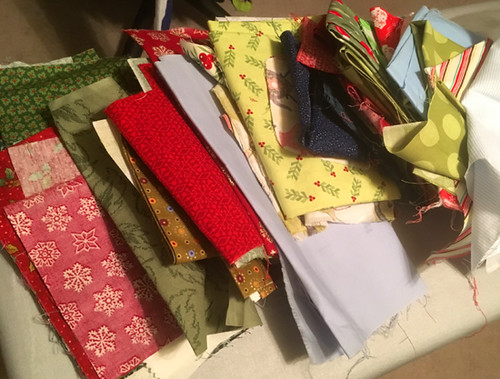
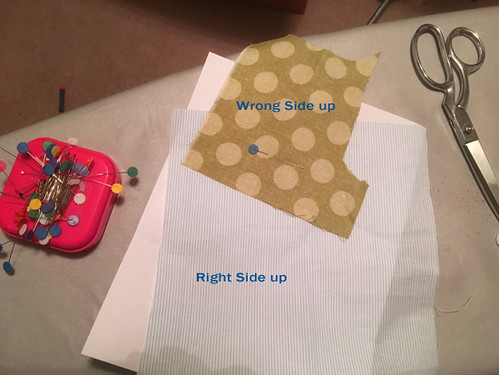
0 wreath

Using the unprinted side of your foundation paper (foundation paper piecing tutorial here!!!), lay out your background fabric right side up and your first strip wrong side up.  Make sure to check that your pieces are big enough to cover all the way across the triangle.  The background fabric should fully cover section 1.

1 wreath

The strips that make up the center portion of your wreath are not mapped out for you.  This gives you the option to do one solid piece of fabric for your wreath section or randomly add strips like I did.  

Sew along the printed line to connect your first two fabrics together.  Trim, flip and press your block so that the right sides of both fabrics face up.  If this is confusing to you, go see the foundation tutorial!
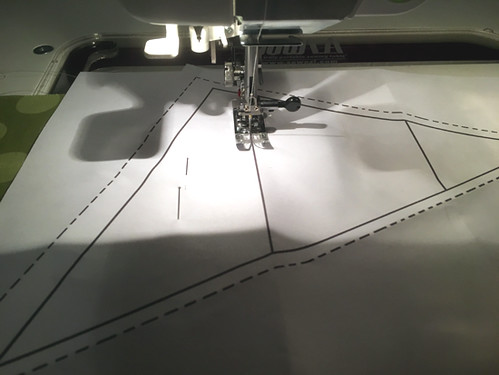
2 wreath

If you choose to do strips, the only thing you need to be careful to do is to sew a straight line across the whole wreath section and leave a 1/4 extra fabric for the seam allowance.  Keep adding Christmas fabric strips in various widths to your block until section 2 is completely filled.  Every strip will need to be trimmed, flipped, and ironed for the best result.  Use another piece of background fabric for section 3 to complete your block.
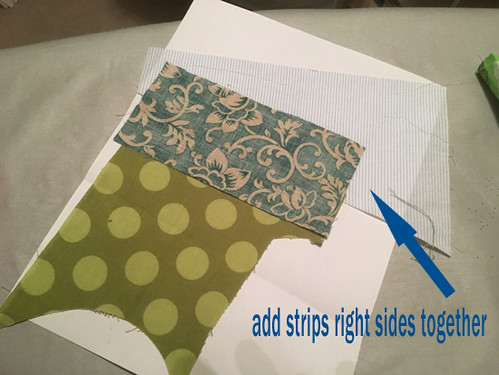
3 wreath

Complete 4 "A" pieces and 4 "B" pieces then trim them.
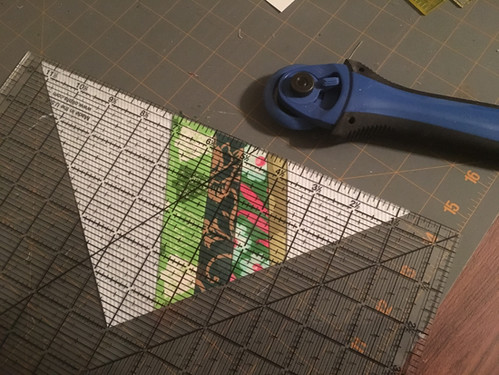
4 wreath

Lay out all your pieces and arrange them according to the pattern in a way that is pleasing to you, and then sew an "A" and "B" triangle together so that you have four square blocks.
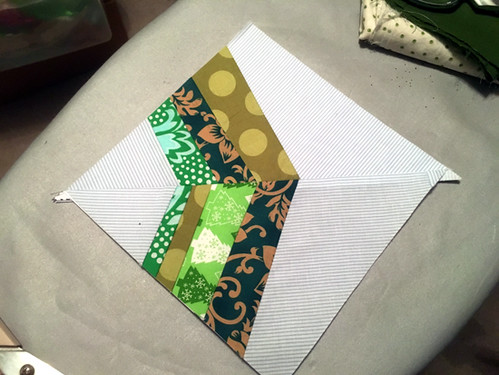
5 wreath

Sew two squares together and press the seams all in the same direction.
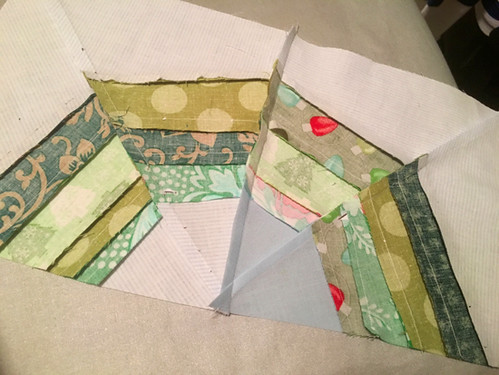
6 wreath

Then sew your two pillow halves together.  
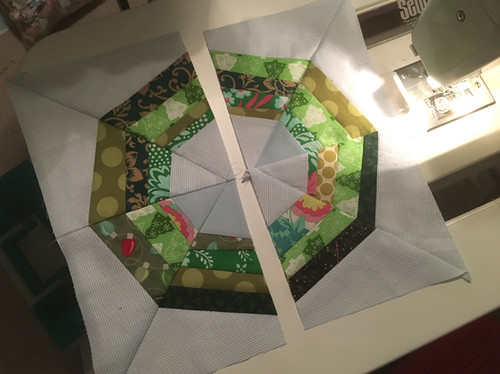
7 wreath

You might get a small bump in the center from where all the seams meet, but this can be corrected by fanning your seams, opening the center seam up, or just giving it a really, really good pressing.  Use whatever method is easiest for you.

8 wreath


Layer your pillow top onto a piece of batting or felt (I used felt) and quilt as desired.  
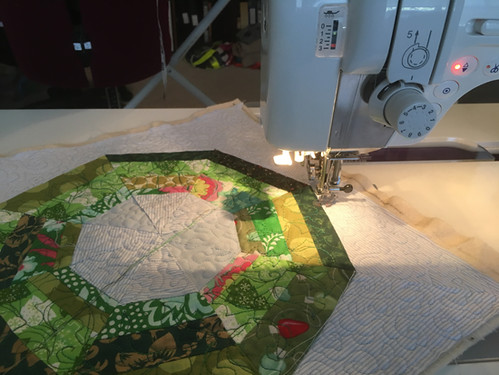
9 wreath


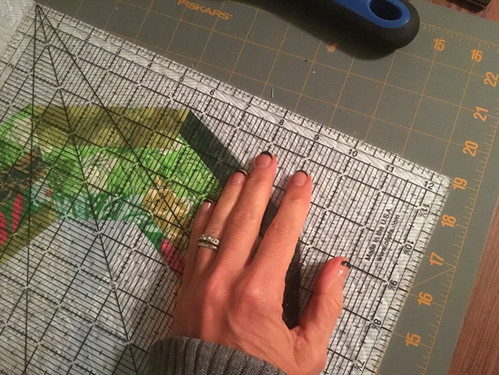
Square up and trim your pillow top.  Depending on how heavily you quilted your pillow top, the final dimensions might not measure exactly 15x15 so be aware of this when you are squaring up.
10 wreath


To make the back of your pillow.  Measure the final size of your trimmed top and cut a piece of fabric a 1/2 inch bigger on all sides.  So, if your top measured exactly 15 inches square, cut your backing piece 16 inches square.  Layer the back fabric on top of a piece of batting or felt and quilt as desired.  

Once quilted, the backing piece should be cut the same size as the front.  I did it this way so that your back piece wont end up too small for the front piece due to quilting shrinkage.
12 wreath


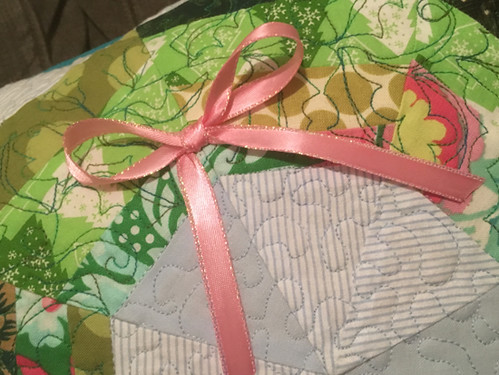
If you want to add any ribbons, buttons, or other embellishments to the front of your pillow, it's easiest to do it now.  I added a pink bow (red would have been more Christmasy, but I'm feeling the pink this year). Let your imagination run wild or just leave it clean and simple.
11 wreath


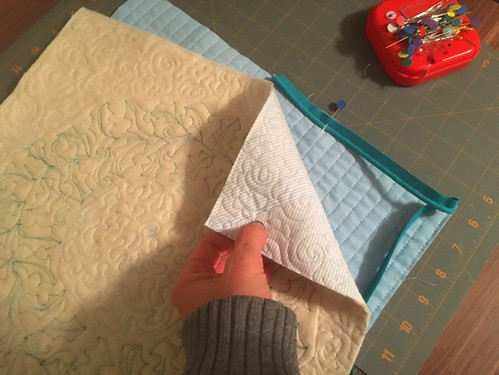
Stack your pillow front and back right sides together and sew a 1/2 inch seam at the perimeter leaving a hole that you can use to add the stuffing.  I inserted a piece of piping on my pillow, but your don't have to. Trim your corners and flip the pillow right-side-out.
13 wreath


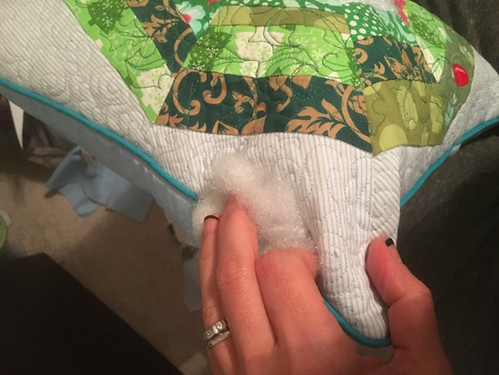
Stuff your pillow and close up the hole by hand or machine.  I do it by hand for a cleaner look, but if you don't mind a line of stitching, you can use your sewing machine.  You could also make the cushion with a zipper closure or an envelope back if you wanted to be able to change out your look easily.
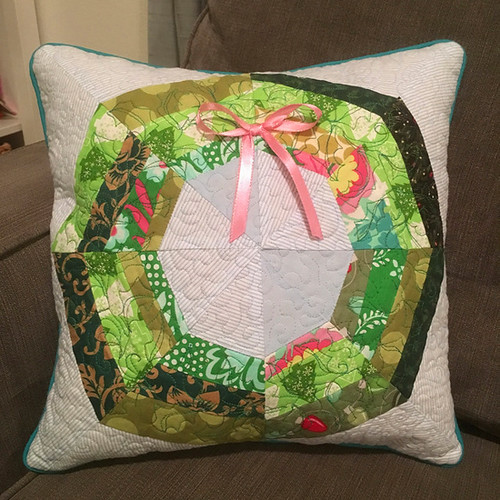
wreath

Your pillow is now ready to enjoy!  I hope you found my pattern fun, easy, and adorable!


I can't wait to see what you've all been up to this month so be sure to link up here!


I also want to give a huge thank you to all the sponsors who participated in this years HO HO HO and on we sew link party!!!  You all ROCK!


https://www.etsy.com/uk/shop/nicoledebruin
  
http://www.needcraft.co.uk/
http://www.elephantinmyhandbag.com/http://www.tikkilondon.com/http://www.japancrafts.co.uk/http://www.rylandpeters.com/
 
https://www.etsy.com/uk/shop/summersville
https://www.etsy.com/uk/shop/AngieAttwoodTextiles

http://simplysolids.co.uk/
http://sewsweetness.com/

 
http://www.tina-francis-tapestry.co.uk/

Monday, December 21, 2015

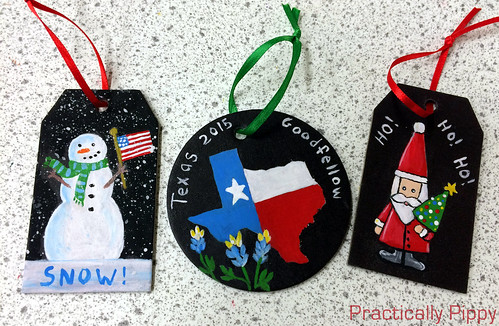
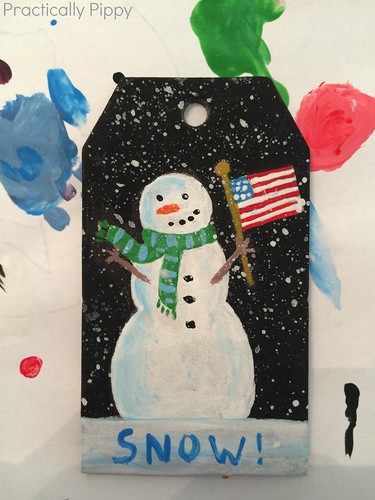
Chalkboard Christmas Ornament Gift Tags

So, hopefully you all have most of your Christmas making and buying done for this year and you're ready to wrap all your gifts and get them under the tree.  To that end, here's one little last minute make for you before Christmas.

tags

These gift tags are a nice little re-usable addition to your packages.  The painted side is pretty and decorative.

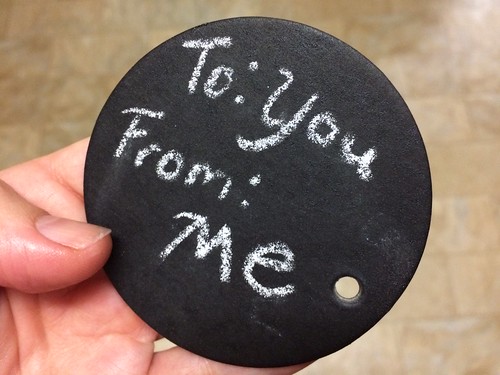
tag backside

And, the backside is perfect for labeling your gifts.  The best part is that you can use them year after year.  Just wipe off the chalk and you're ready to go.  They can also double as cute little Christmas Ornaments, too.

I made these up as a craft that I was teaching locally (I'm sure the Texas gift tag hinted at that), so these are really fast and easy to paint for beginners. Download the pattern and instructions here and enjoy :) 

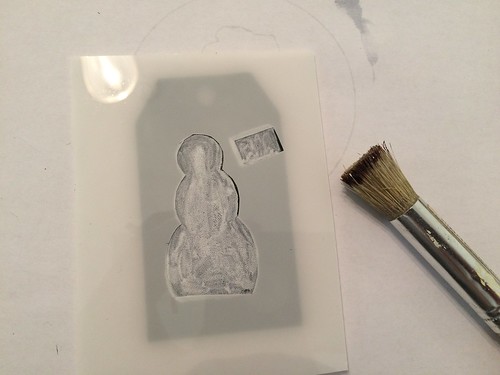
In my instructions, I suggest that you make a stencil to underpaint your tags in white so that your colors show up on the black background.

Untitled

While I highly suggest that you underpaint, you don't have to use a stencil.  Use whatever method you like best for transferring the design, but if you plan to make several tags, it might be worth making a stencil.

Untitled

As always, feel free to personalize your design however you want.  Be creative and change the flag if you're not in the states.  Dress your snowman in an apron and hat.  I'm just giving you a jumping off point, but the sky's the limit :-)

I hope these little gift tags help you to add that special little touch to all your presents.  Have a Merry Christmas everyone!
Friday, September 18, 2015

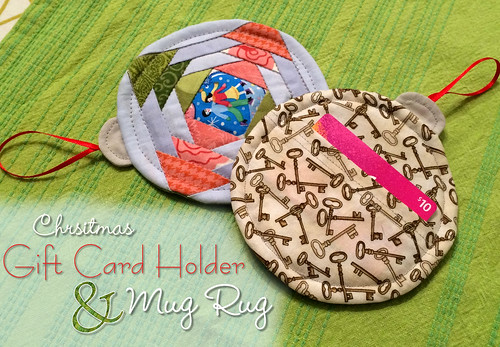
Gift Card Holder and Mug Rug

Welcome to the September HO, HO, Ho and On We Sew 
link party!

Let's face it my fellow holiday makers.  No matter how talented and crafty we all are, there will inevitably be someone on our holiday list who will get a gift card.  Personally, I love gift cards, and I have no problem giving or receiving them.  While they are great, they do lack that little handmade touch that many of us love to include in a gift.  So to remedy this situation, I will be sharing a fun, fast, and versatile gift card holder/mug rug pattern to kick off the September Linky party.

Christmas Gift Card Holder & Mug Rug sewing tutorial

Every month on the 18th, Paula at Mud, Pies, and pins and Fiona at Celtic Thistle Stitches will be hosting a link party where we can showcase our work and get inspired and motivated by each other to get going on our Christmas decor and gifts throughout the year. There is also a wonderful giveaway open to all linkers to the party.  You don't have to comment on this blog to be entered; you only need to link-up :)


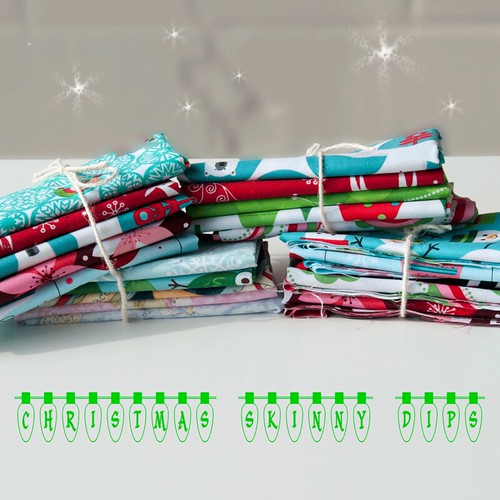
Thank you to Plush Addict for sponsoring this months giveaway prize!  One lucky linky party winner gets their choice of one Skinny Dips bundle from Plush Addict. The bundles are a themed set of five fat 8ths of fabric.

Plush Addict Logo

xmas-skinny-fb


Christmas Gift Card Holder &

 Mug Rug Tutorial


Untitled

While many of the store bought gift card holders available are pretty, they are often for presentation sake only and will eventually find their way to the garbage can.  This is sad :(  

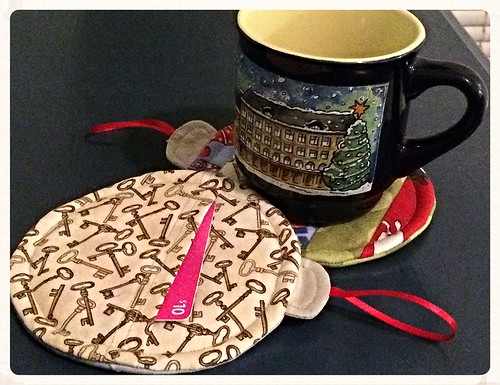
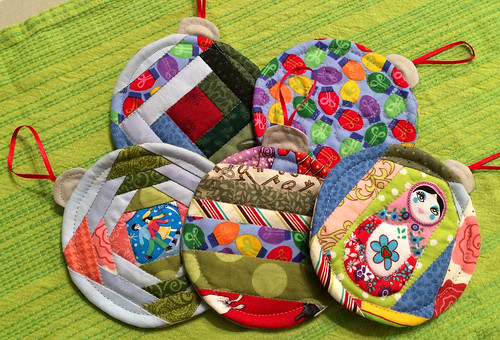
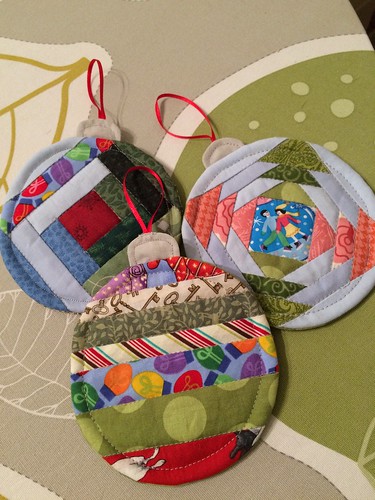
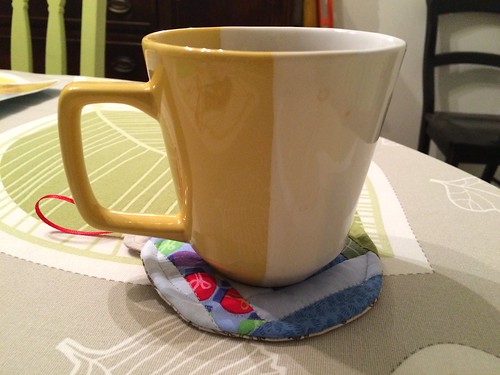
Personally, I like projects that are practical, pretty, and multi-functional.  This gift card holder is not just a pretty way to present your gift card, but it doubles as a Christmas ball shaped mug rug that the recipient can use at home or at work.  It's also designed to hang on the tree if you like to tuck a few little gifts into the branches of your Christmas tree like I do. Plus, it fits perfectly into an A6 sized envelope for easy mailing.   

variety

I'm also a big fan of variety, so this pattern includes a one fabric (basic) version, a paper pieced pineapple design, and a paper pieced log cabin as well.  


Supplies:
1/8 yard fabric or a variety of fabric scraps
batting
thread
1/8th inch ribbon for hanging
optional trim for embellishments

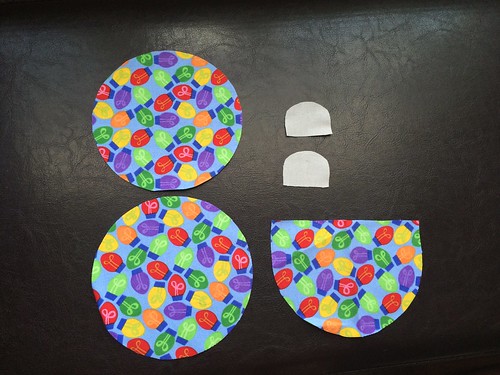
No matter which design you choose to make, you will start by printing the basic pattern and cutting out the shapes for the body (front and back for the basic pattern, only back if patchwork), the pocket, and the cap.

pieces

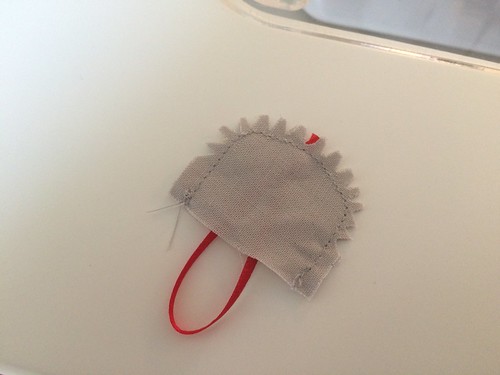
Cut your ribbon to about 4.5 inches long and place it between your two cap pieces.  Sew around the perimeter using 1/4 inch seam allowance (included in pattern) leaving the bottom open.  Notch the curve and flip right side out.

Untitled

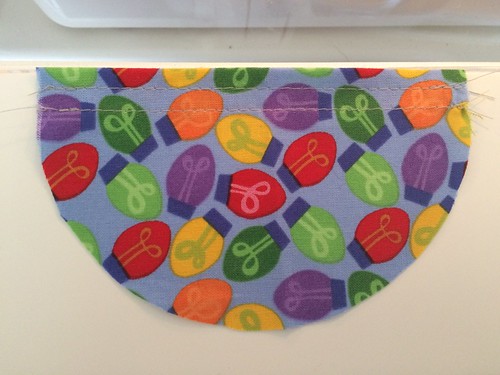
Fold the pocket piece at the top along the fold line and press down.  Stitch it in place for a nice clean top.

Untitled

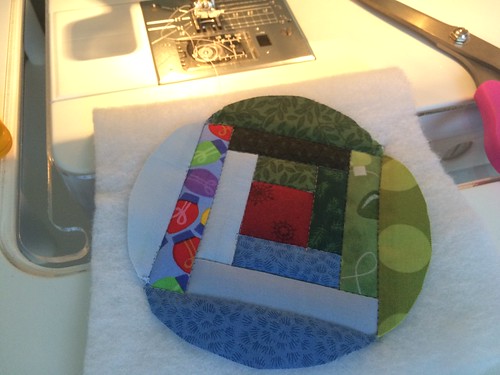
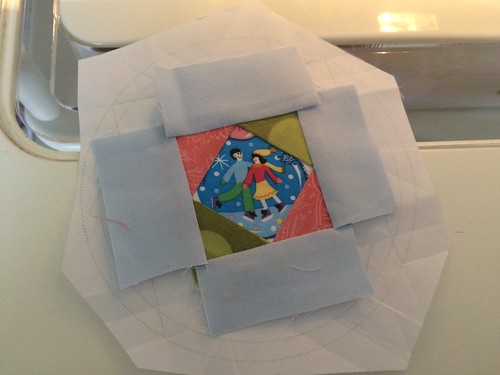
The cap, pocket, and back piece are made the same no matter which design you choose.  If you want to do either the pineapple or log cabin fronts, you will need your printout and a basic knowledge of paper piecing.

There are a zillion good tutorials out there on how to paper piece if you need one.  My personal favorite is this video provided by connecting threads.

The log cabin is the faster and easier patchwork front.

Untitled

The pineapple patch is also very pretty, but more time consuming than the log cabin.  It also lends itself very well to showing off a special fussy cut center.


Untitled

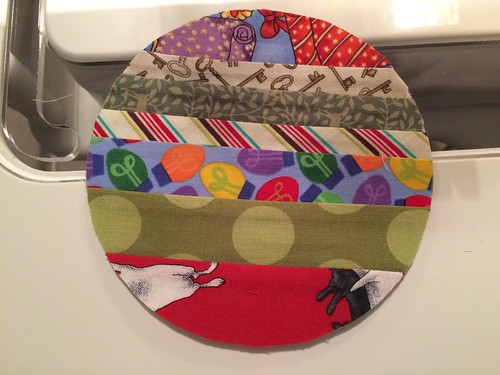
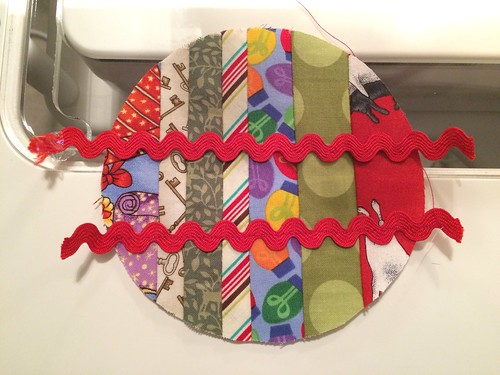
If you just want to wing the front patchwork, you could easily just piece random strips together

Untitled

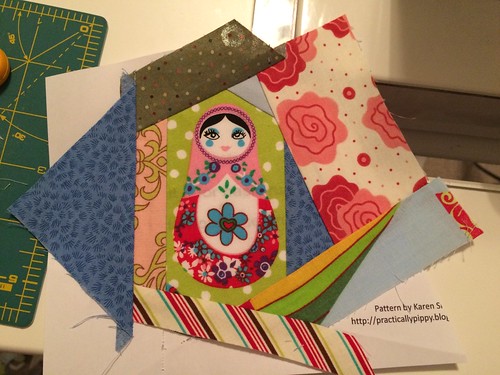
or, you could go crazy and sew pieces around a central fussy cut motif.  The possibilities are really endless. . .

Untitled

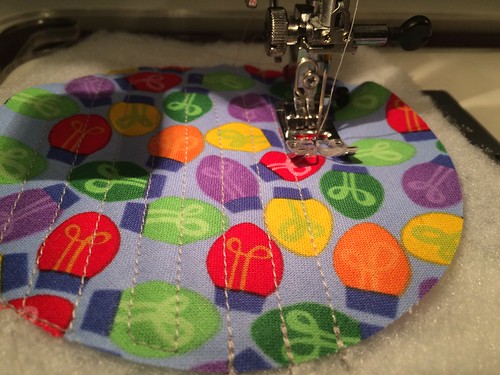
Place the font body piece (either patchwork or plain) right side up on the batting.  Quilt the top using whatever design you prefer, and then trim off the excess batting.

Untitled

If you want to add any trim to the front, now would be the time to sew it down.

Untitled

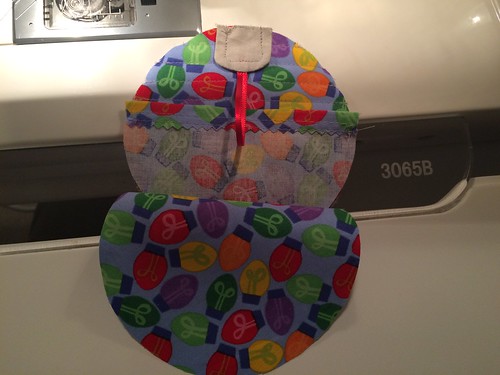
Stack the front and back pieces right sides together with the pocket and cap in-between as shown.  

Untitled

Sew around the perimeter using 1/4 inch seam allowance.  Leave a minimum half inch gap un-sewn in order to flip it right-side-out (place the opening between the pocket and the cap in order to making closing it easier later). 

Untitled

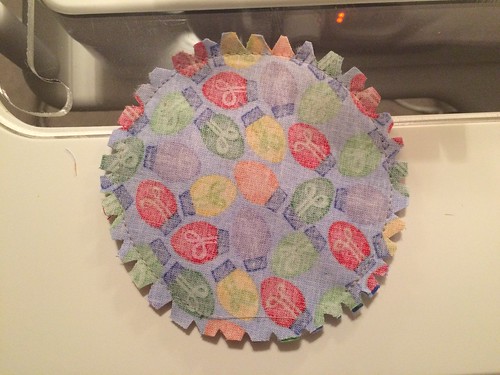
Notch around the circle and then invert the body.

Untitled

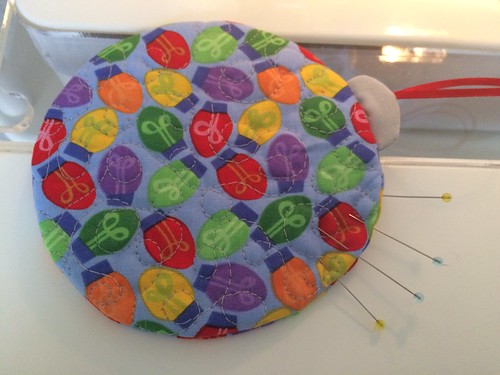
Working from the inside with a tool or your fingers, shape the edges until your circle is fairly symmetrical. Pin and  sew your opening closed either by hand or machine.

Untitled

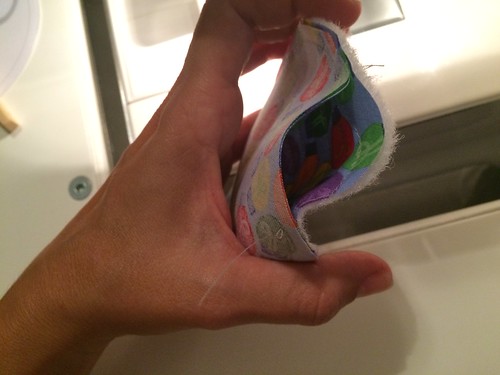
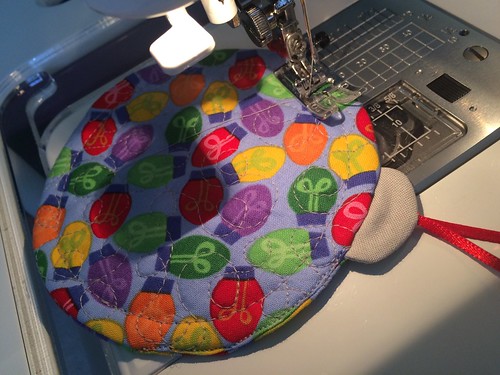
Lastly, you'll want to stitch around the perimeter again using a 1/4 inch seam allowance.  This will help keep all the layers together and make the pocket more secure.

Untitled

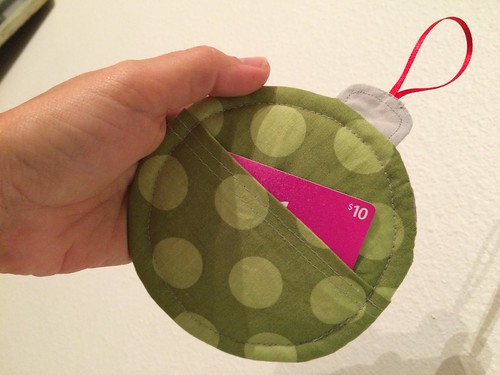
Now your ready to place your gift card in your holder . . .

Untitled

and send it out into a world full of beverages . . .

Untitled

that are waiting for mug rugs :)

Untitled


Now it's time for you to link up and show us all what you've been up to this month!  Plus, you'll get a chance to win the Skinny Dips bundle from Plush Addict.


I can't wait to see all of your  holiday creations and, as always, a big thank you to all of our lovely giveaway sponsors.


Crafty Trimmings
http://www.patchworkelephant.com/

Logo Sew Hot

Plush Addict Logo


Quilting Fabric at the Fat Quarter Shop
Related Posts Plugin for WordPress, Blogger...