Wednesday, May 6, 2015

Superhero room

Hello to all my blogging friends out there.  Let me first say that I have really missed you all over the last couple months!  Life's been a roller coaster since moving to Texas and blogging just got pushed to the sidelines for awhile.  Life is still going full speed for me, but I've decided that waiting for it to calm down before I start blogging again is just not realistic or practical.  There rarely is a perfect time to start anything; you've mostly just gotta jump in and do your best. So, here I am, jumping back in!

IMG_8295 copy

My blogaversary was 3 years this January!  So let's celebrate with cupcakes and superheros!  
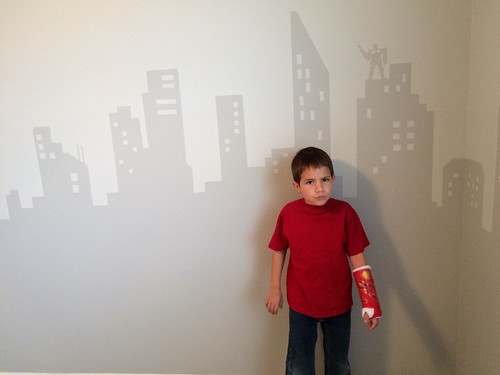
IMG_0344

My youngest boy, who looks a smidge grouchy in this photo, wanted a superhero themed room.  So, armed with a few rolls of tape and a paint brush, I decided to give him a superhero city!

I wish I had some pictures to show you the work in progress, but I forgot to take them, and really it just involved taping of the edges of buildings until I liked the look of what I was making.  I didn't draw them out beforehand but just let the city develop as I was working around the room.  Then I went back in and added windows with tape as well.
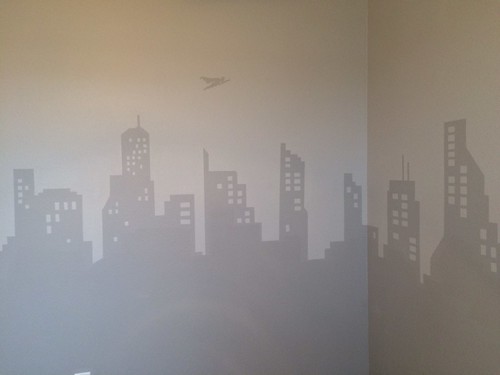
IMG_0334

My little guy chose all the heroes that he wanted included in his room.  First, we have Superman flying over the city.
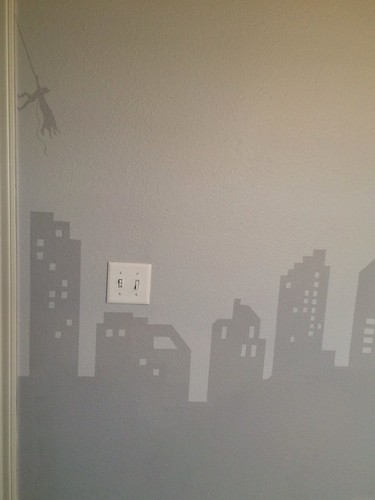
IMG_0335

Then Batman climbing the wall . . .

IMG_0342

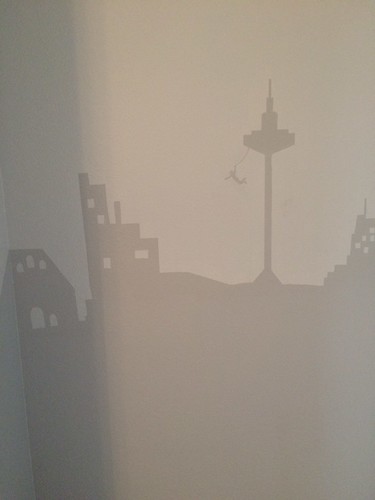
and Spiderman swinging from the water tower.

IMG_0339

Ironman was a must since my son thinks that he is one of the coolest superheros on the planet.  I did draw the superheros out before painting them.  You can still see my pencil marks on some of them, but I'm not stressing about it since it actually helps define the edges of the heroes on these textured walls.
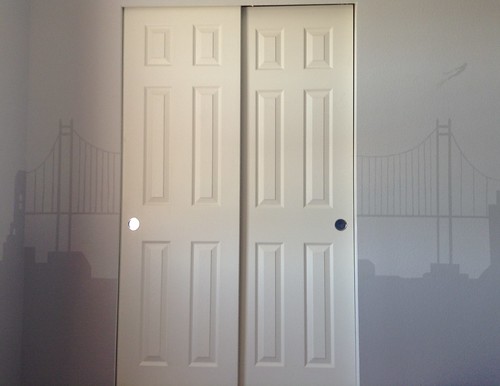
IMG_1030

I like Ironman too, but my favorite part of the the mural is this bridge spanning the closet.  It was fun to think out and paint.
IMG_0341

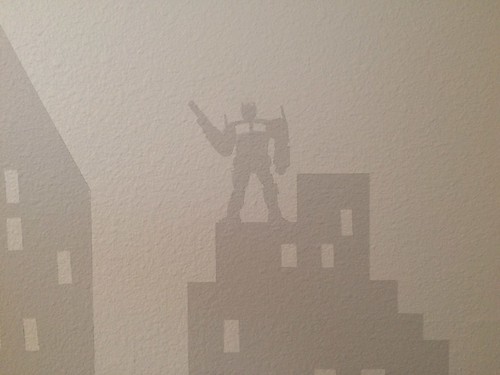
The last superhero is actually a transformer, but hey, Optimus Prime is a hero too!

IMG_0348

I really enjoyed making this mural for my son and hope to add a few more projects to his room before it is completely done.  He still needs some lamps, pillows, and maybe even a quilt this year.  Plus, I'm still working on projects for the other kid's rooms too that I will be sharing in the future as well.

Friday, November 14, 2014

A funny thing happened on the way to Texas

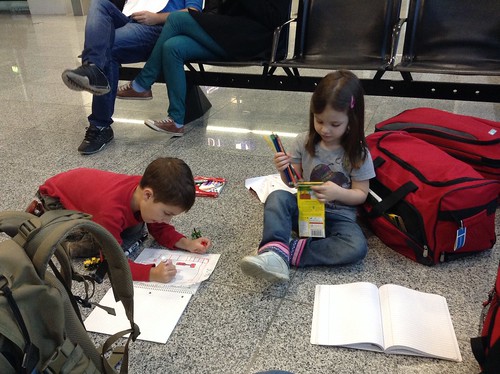
After a series of botched airline tickets and funny taxi rides we are finally in our new Texas home!!!  Germany gave us an amazing four years, but it's good to be back in the United States so that we can be nearer to our families.

image

Our actual flight was pretty uneventful, but catching the flight was an interesting series of events that involved our original tickets having the wrong date printed on them which left us scrambling to get a new flight from a different airport the next day.

This is where the funny part comes in!!!  Because we had to change our flight, we ended up landing in Dallas for our layover to San Angelo.  My daughter needed a bathroom break and while we were standing in line at one of the many bathrooms at the Dallas airport I told the woman in front of me that I really liked her dress and it was just like one that another blogger I follow made.  She asked about my latest post too and we realized we both follow each others blogs, and I was actually talking with the maker of the dress. Not only that, but we've been emailing back and forth the whole week about my 1248 triangle quilt!

image

It was crazy good to meet Tracey from the finding joy in the little things blog at the Dallas airport while we were both on the way to different places.  How insane is that!!!

It was great meeting you Tracey and I hope that you enjoyed your California trip.

Thursday, October 30, 2014

1248 Triangle Top update

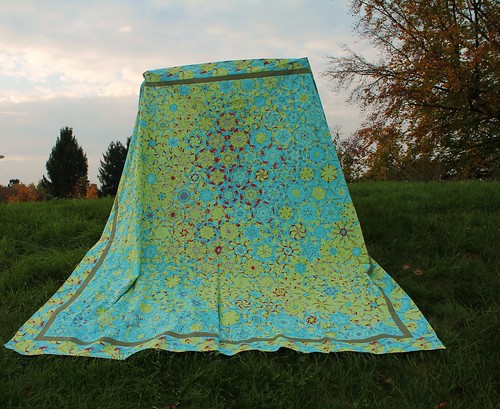
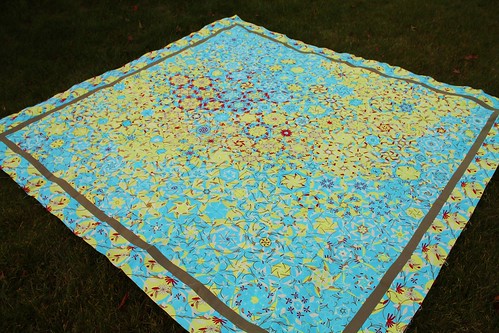
I've been wanting to post these updated photos of my 1248 triangle quilt all week, but it's been hard to get any good pictures while we are in the process of moving.  This queen sized quilt is all done and ready to be quilted as a Christmas gift for my sister and her husband!  It doesn't hurt that this year late November is their 2nd wedding anniversary, which is the cotton anniversary!

IMG_7812

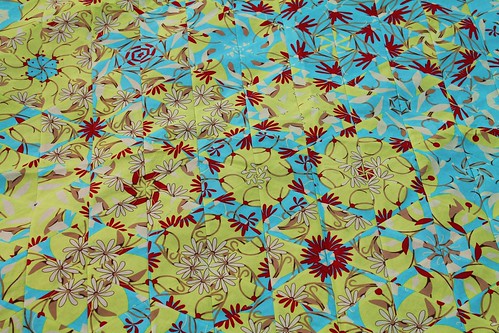
I don't think that these photos really do the colors on this quilt justice (I hope to get some better one's post quilting), but I do hope that they show the cool design.

IMG_7804

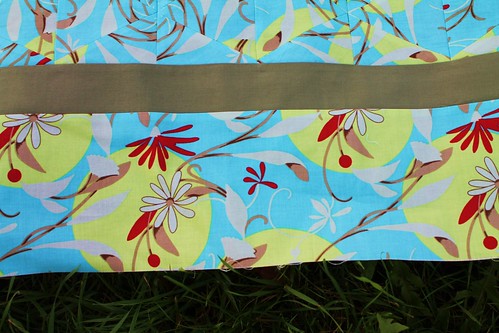
I love how the skinny solid border stripe separates the one block wonder blocks from the original fabric.  It really shows how the technique can change the pattern.  

IMG_7815

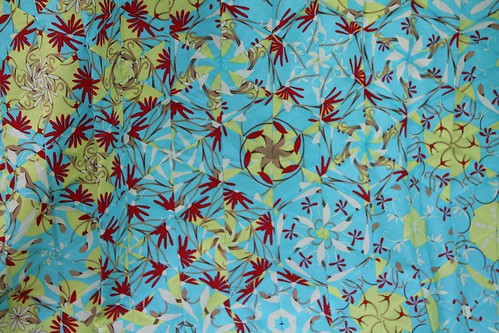
I really can't pick any favorite hexagons because I like too many of them!  Although, I do like the ones that form swirls and stars a lot.

IMG_7807

I think that I might have to make another one of these now because this one was so fun to do!

IMG_7830

I also love how easy the pattern came together.  The book talked about laying the hexagons up on a design wall and tweaking them over the course of a few days or weeks to get a pleasing pattern, but really, I don't have that kind of time.  I took a much more serendipitous approach to the design process and laid them out on the floor and took an hour to re-arrange while the kids were in bed.  It came together pretty fast compared to how hard I thought it would be, and I love how it flows.  

I can't wait to get this quilted.  One more item checked off my Christmas to do list!!!  

Tuesday, October 21, 2014

Halloween 2014

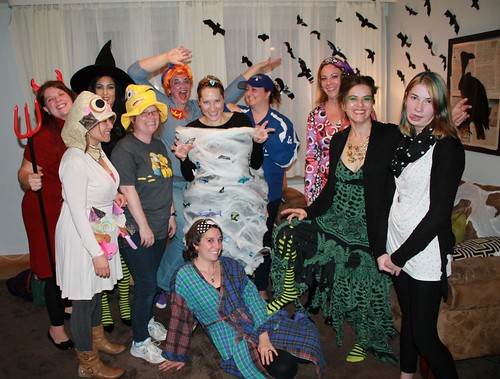
It's my favorite time of year again!  The leaves are turning, the air is crisp, and the scarves are getting aired out.  It's also time for our annual Bunco Halloween Party.

IMG_7736

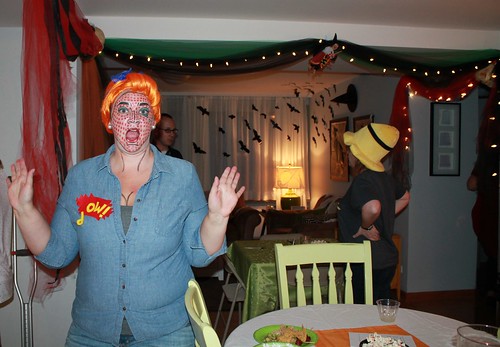
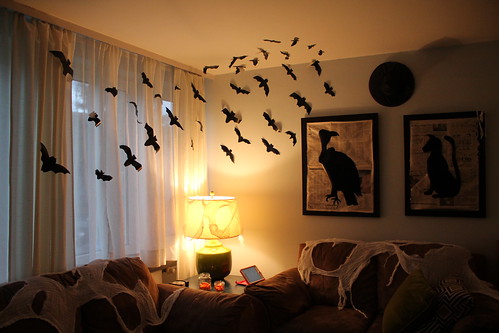
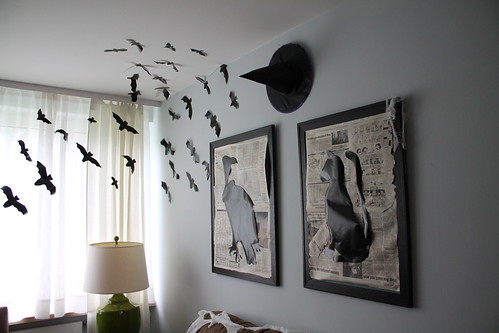
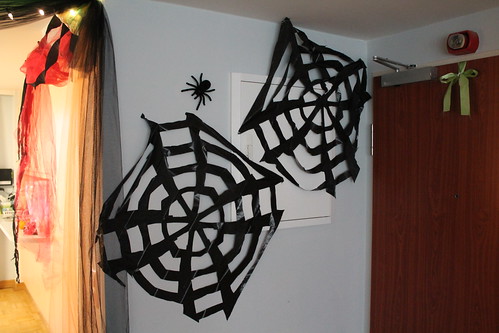
I have had the pleasure of hosting two years in a row now, and I love decorating the house so it's nice and spooky for our guests.  If you missed last years decorations you can see them here.  This year, I went for spooky chic with lots of spider webs, spooky art, flying bats, twinkly lights, and Halloween colored tulle swags separating the rooms.

IMG_7720

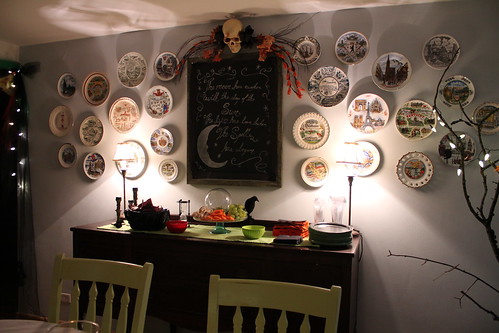
I learned from last year that lighting is super important when throwing a Bunco Halloween party.  Last year, the overhead lights were on, and it distracted from the spooky decor.  This year, I turned off the overhead lighting and only used fake candles, jack-o-lanterns, and lamps.  The effect was much better and it made a huge difference.

IMG_7752

This year's art was super easy too.  I covered my normal prints with tea stained newspaper and then cut out a spooky vulture (courtesy of the Graphics Fairy) and cat silhouette for each frame out of black wrapping paper.  I then used the left over paper to cut out some bats for the drapes and wall.  I think my favorite part of the living room decor was the witches hat above the paintings.  Next year I think it might be cool to do a whole wall of different witches hats.  What do you think?

IMG_7715

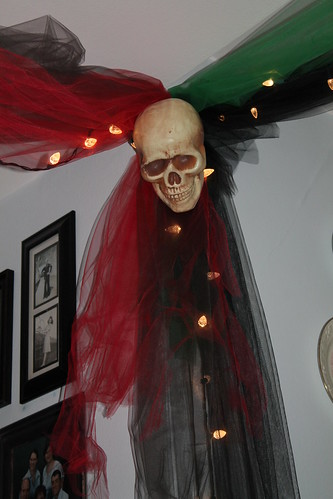
I also loved the dining area decorations. I left my travel plates up, but I covered the art with black poster board and topped it with a skull swag.  

IMG_7716

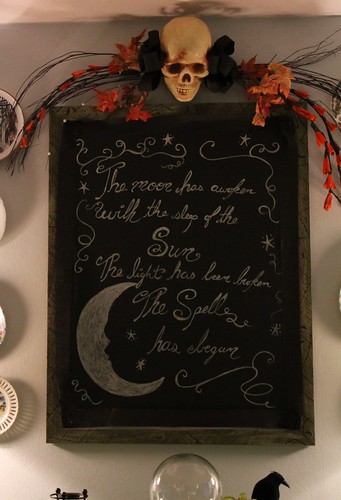
I used up two silver metallic sharpie pens to make this print.  I don't claim to have the greatest penmanship, but I love this Halloween poem and wanted to include it in the decor.

The Moon has awoken
With the sleep of the Sun
The light has been broken
The spell has begun

I don't know who wrote it, but if anyone else does let me know so that I can give them proper credit.

IMG_7711

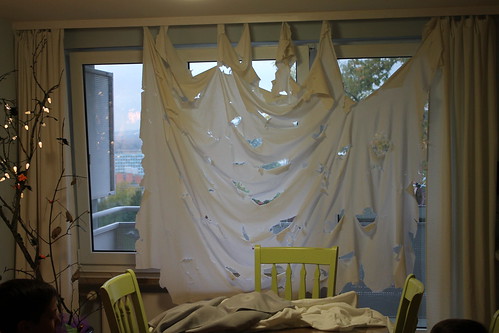
Some of the other decorations that we had up are bare branches covered in bats and twinkling lights and a ripped and torn window covering.

 IMG_7758

tulle swags with skull corners

IMG_7706

trash bag spider webs

IMG_7703

and jack-o-lanterns made by the little helpers :)

IMG_7747

We had a great night of Bunco.  I hope this post helps you to haunt your house or party too! 

Happy Halloween!

Sunday, October 12, 2014

Christmas Tree Lane Quilt

I'm so happy to report that my Christmas Tree Lane quilt and table runner are almost complete!  In my previous posting, I had just finished the piecing while dealing with our upcoming move back to Texas.  The movers come this week and I'm just about to lose my sewing machine and fabric for the next few months :(

IMG_7686

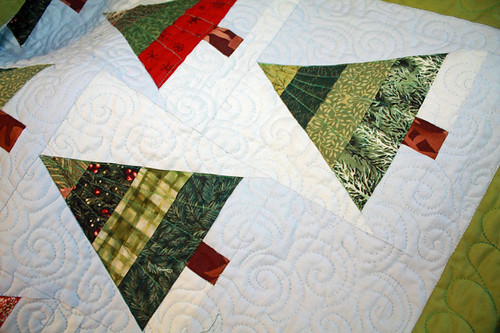
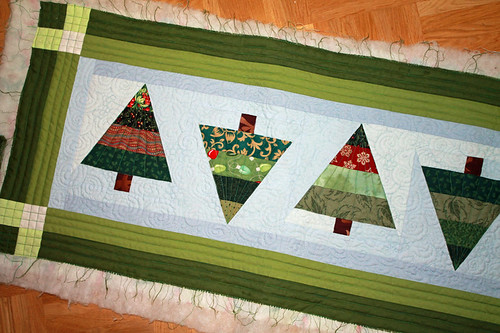
I've finished the quilting on both the quilt and the table runner despite not being able to find my supreme slider for some weird reason and running out of the variegated green thread that I was using to quilt the trees and borders.

IMG_7688

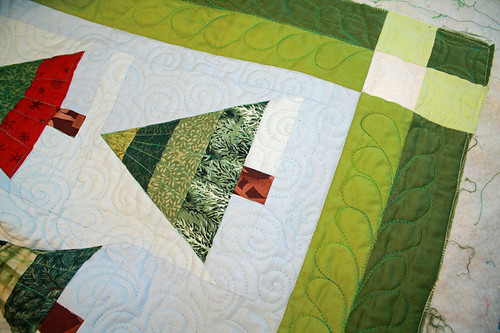
I love the swirl quilting on these pieces and even tried my hand at incorporating a few pebbles into the swirls for the table runner.  I really think that my free motion quilting has improved over this last year and I was excited to do some feathers on my quilt border (although, I choose to do line quilting for the table runner border).

IMG_7683

A few of my feathers went a bit wonky, but overall I'm pretty happy with their size and shape.  Now, it's onto the binding.  I'm torn between a fun holiday stripe and a great red plaid.  Decisions, decisions :) 


Monday, October 6, 2014

1248 Triangles

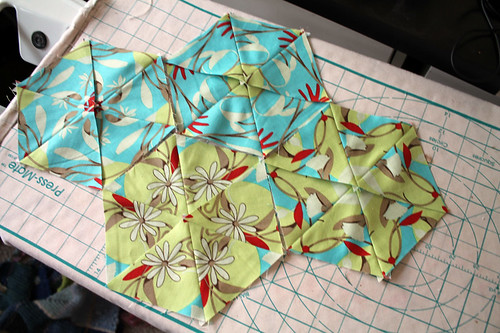
Once upon a time, I saw a one block wonder (or stack-and-whack, if you prefer) quilt at a show, and ever since then I've really wanted to make one.  Call me crazy, but with all the other things going on in my life right now (school, moving to a new home in three weeks, Halloween, and the family) I decided to try to whip out one of these quilts before we leave Germany so that it will be done in time for Christmas as a gift for my sister and her husband.

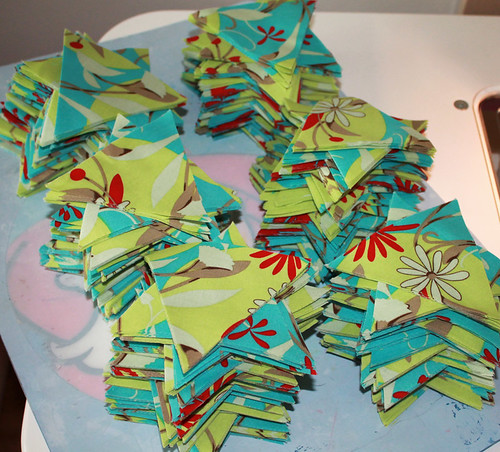
Yep, I'm nuts.  There are 1248 triangles in this pile.  These stacks of hexagons represents 8 yards of fabric!

IMG_7447

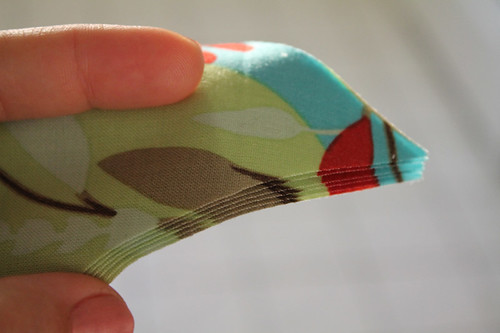
Thankfully the whacking only took one night.  If you've ever read about these quilts, lining up the fabric is really the hardest part.  It took me forever to get my layers all perfectly straight, but it makes a huge difference in how the blocks look when they are put together. 

IMG_7457

I'm now at the fun part.  I get to arrange all my hexagons together in order to create the design.  The books say to put it up on a wall and tweak it over the course of a few days, but I don't have that kind of time.  I'm going to be arranging these on the floor tonight while the kids are asleep and whatever design is formed is how it's going to get sewn together.  That's just how we busy moms have to roll sometimes :)

IMG_7460

I'll keep you updated on how this project is coming together.  I'm thinking about just sending it to a longarmer for finishing because I don't really think I'm going to be able to do it myself in time.  Quilting a queen with a domestic sewing machine is tricky under the best of circumstances, but it might be a mistake to take it on when the movers are coming for my machine on the 16th, and I might not see it again until December.

Tuesday, September 16, 2014

Working towards Christmas

I don't know about everyone else out there, but September is when I start to feel the Christmas crunch.  This year, I planned a bit better and have a lot done, but I still have several gifts "in-the-works", and since we are moving at the end of October, and we don't know when our stuff will arrive at the new house (likely after Christmas), I'm trying to get several projects finished up and shipped out early.

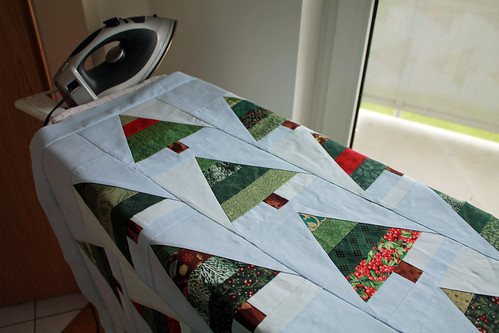
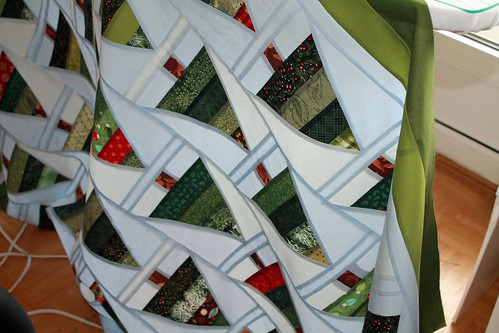
This week, I'm focusing on a project that I've been designing for a long time.  I drew-up this Christmas tree quilt several months ago, and now I'm finally at the putting together stage!  This weekend, I added the borders to my modern style Christmas quilt.  Many of the modern quilts that I've seen lately don't have borders, but I really liked the idea of framing my Christmas trees with a simple and clean border design.

IMG_7354

I'm really loving how it's turning out.  The blocks are foundation pieced from a simple tree block that I designed and arranged in a vertical, off-set pattern.  I went the foundation route because I wanted to use all of the Christmas fabric scraps that I had laying around, and foundation piecing is great for scraps :)

IMG_7359

This week, I'm going to hopefully finish the quilting on my domestic and work on finishing-up the pattern instructions.

IMG_7362

I've written patterns and tutorials before, but this will be the first one that I'm going to offer for sale.  I'm not sure when I'll have the pattern ready for sale because I want to see if I can get a few people to read it and maybe test it first.  

I'd love to hear from anyone else who creates patterns for sale and wants to share some wisdom about their experiences :)  

Related Posts Plugin for WordPress, Blogger...