Showing posts with label crafts. Show all posts

Friday, September 18, 2015

Gift Card Holder and Mug Rug

Welcome to the September HO, HO, Ho and On We Sew 
link party!

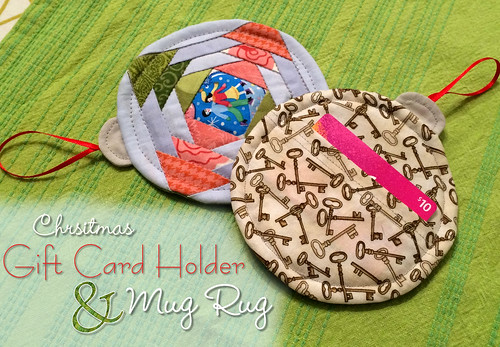
Let's face it my fellow holiday makers.  No matter how talented and crafty we all are, there will inevitably be someone on our holiday list who will get a gift card.  Personally, I love gift cards, and I have no problem giving or receiving them.  While they are great, they do lack that little handmade touch that many of us love to include in a gift.  So to remedy this situation, I will be sharing a fun, fast, and versatile gift card holder/mug rug pattern to kick off the September Linky party.

Christmas Gift Card Holder & Mug Rug sewing tutorial

Every month on the 18th, Paula at Mud, Pies, and pins and Fiona at Celtic Thistle Stitches will be hosting a link party where we can showcase our work and get inspired and motivated by each other to get going on our Christmas decor and gifts throughout the year. There is also a wonderful giveaway open to all linkers to the party.  You don't have to comment on this blog to be entered; you only need to link-up :)


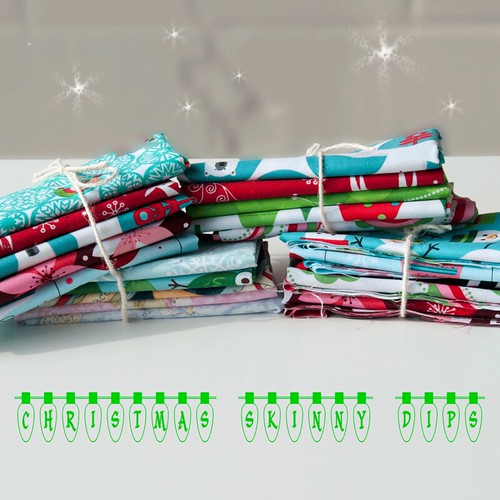
Thank you to Plush Addict for sponsoring this months giveaway prize!  One lucky linky party winner gets their choice of one Skinny Dips bundle from Plush Addict. The bundles are a themed set of five fat 8ths of fabric.

Plush Addict Logo

xmas-skinny-fb


Christmas Gift Card Holder &

 Mug Rug Tutorial


Untitled

While many of the store bought gift card holders available are pretty, they are often for presentation sake only and will eventually find their way to the garbage can.  This is sad :(  

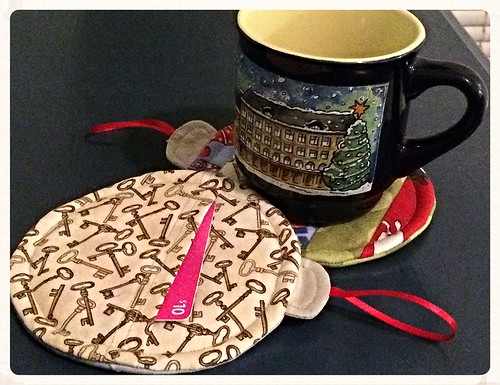
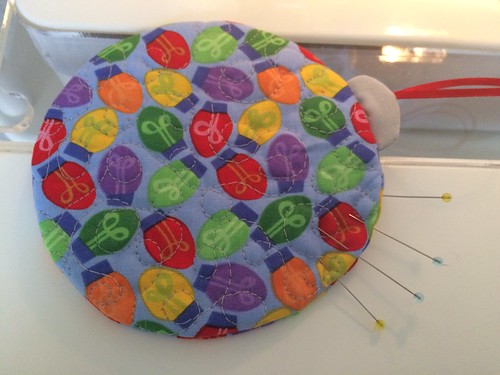
Personally, I like projects that are practical, pretty, and multi-functional.  This gift card holder is not just a pretty way to present your gift card, but it doubles as a Christmas ball shaped mug rug that the recipient can use at home or at work.  It's also designed to hang on the tree if you like to tuck a few little gifts into the branches of your Christmas tree like I do. Plus, it fits perfectly into an A6 sized envelope for easy mailing.   

variety

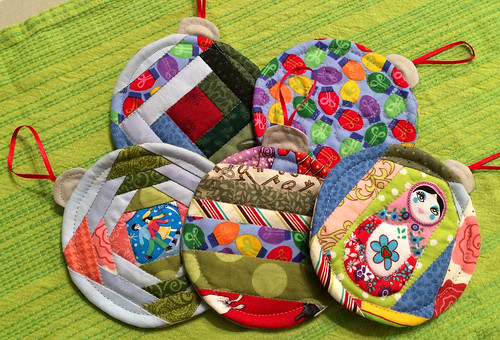
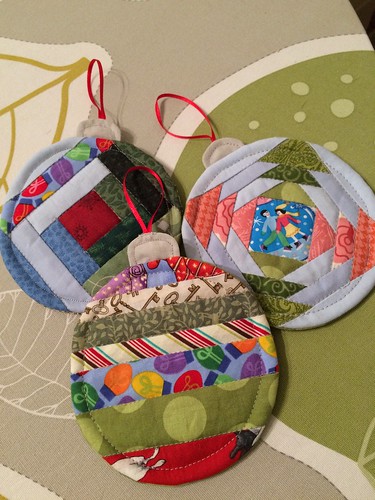
I'm also a big fan of variety, so this pattern includes a one fabric (basic) version, a paper pieced pineapple design, and a paper pieced log cabin as well.  


Supplies:
1/8 yard fabric or a variety of fabric scraps
batting
thread
1/8th inch ribbon for hanging
optional trim for embellishments

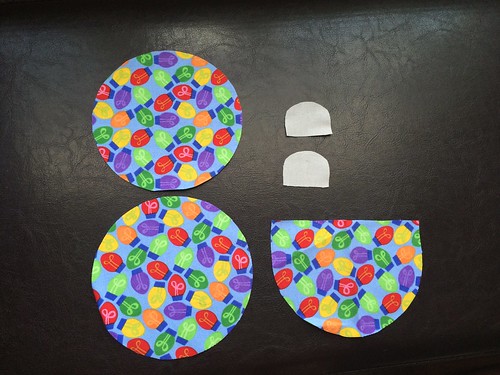
No matter which design you choose to make, you will start by printing the basic pattern and cutting out the shapes for the body (front and back for the basic pattern, only back if patchwork), the pocket, and the cap.

pieces

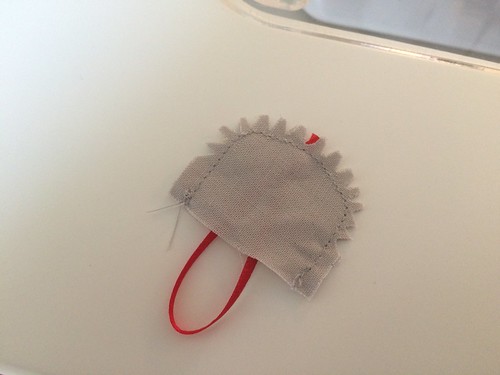
Cut your ribbon to about 4.5 inches long and place it between your two cap pieces.  Sew around the perimeter using 1/4 inch seam allowance (included in pattern) leaving the bottom open.  Notch the curve and flip right side out.

Untitled

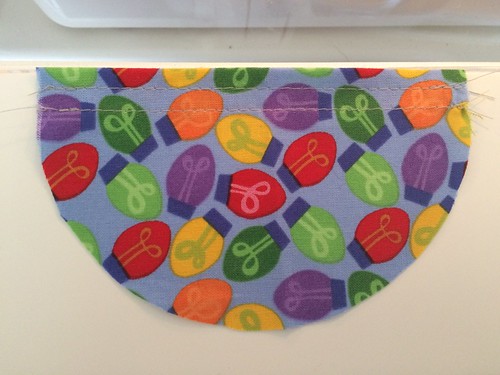
Fold the pocket piece at the top along the fold line and press down.  Stitch it in place for a nice clean top.

Untitled

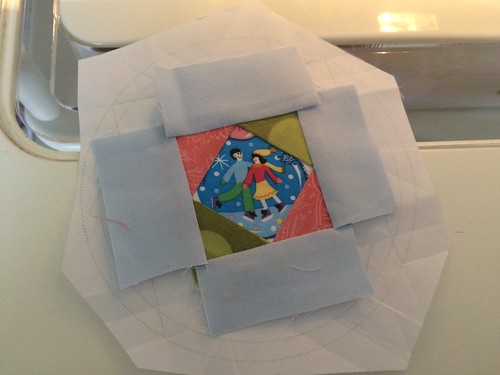
The cap, pocket, and back piece are made the same no matter which design you choose.  If you want to do either the pineapple or log cabin fronts, you will need your printout and a basic knowledge of paper piecing.

There are a zillion good tutorials out there on how to paper piece if you need one.  My personal favorite is this video provided by connecting threads.

The log cabin is the faster and easier patchwork front.

Untitled

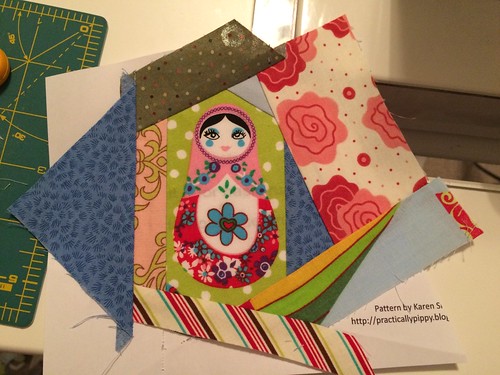
The pineapple patch is also very pretty, but more time consuming than the log cabin.  It also lends itself very well to showing off a special fussy cut center.


Untitled

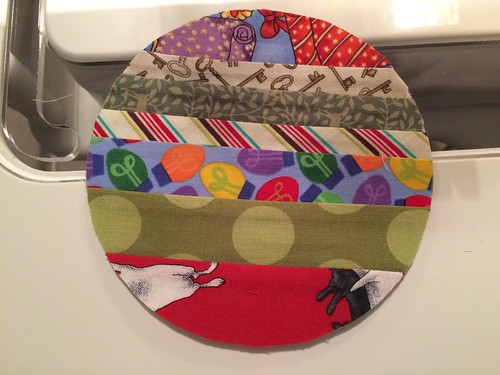
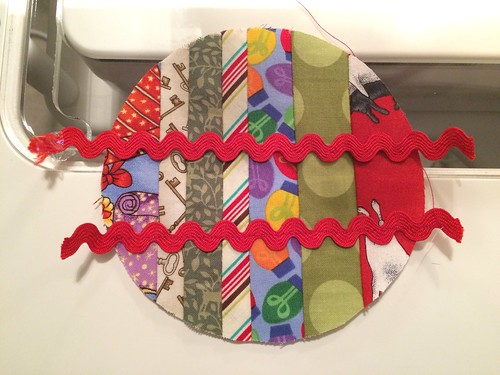
If you just want to wing the front patchwork, you could easily just piece random strips together

Untitled

or, you could go crazy and sew pieces around a central fussy cut motif.  The possibilities are really endless. . .

Untitled

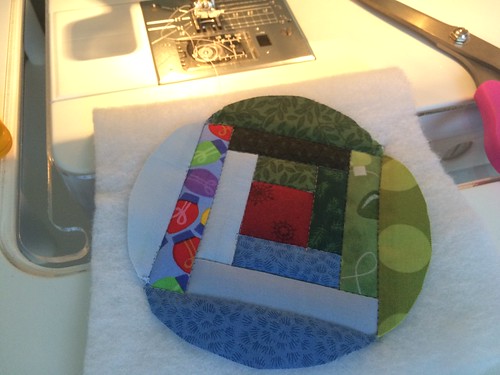
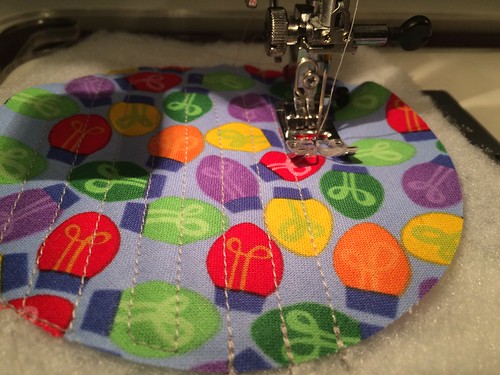
Place the font body piece (either patchwork or plain) right side up on the batting.  Quilt the top using whatever design you prefer, and then trim off the excess batting.

Untitled

If you want to add any trim to the front, now would be the time to sew it down.

Untitled

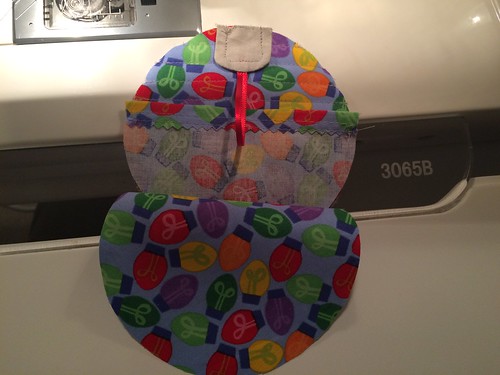
Stack the front and back pieces right sides together with the pocket and cap in-between as shown.  

Untitled

Sew around the perimeter using 1/4 inch seam allowance.  Leave a minimum half inch gap un-sewn in order to flip it right-side-out (place the opening between the pocket and the cap in order to making closing it easier later). 

Untitled

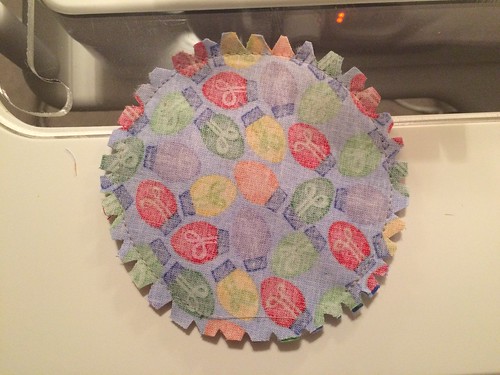
Notch around the circle and then invert the body.

Untitled

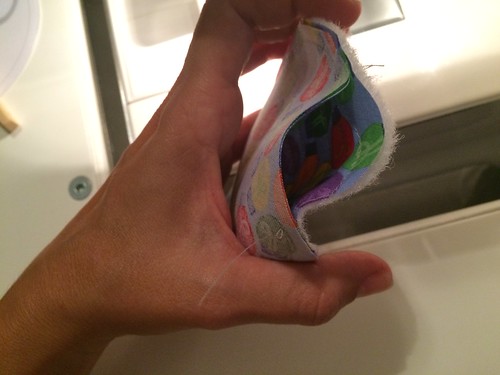
Working from the inside with a tool or your fingers, shape the edges until your circle is fairly symmetrical. Pin and  sew your opening closed either by hand or machine.

Untitled

Lastly, you'll want to stitch around the perimeter again using a 1/4 inch seam allowance.  This will help keep all the layers together and make the pocket more secure.
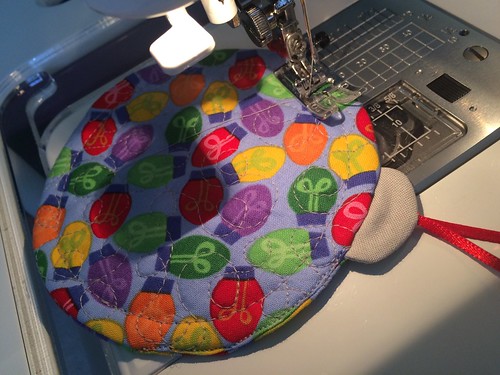
Untitled

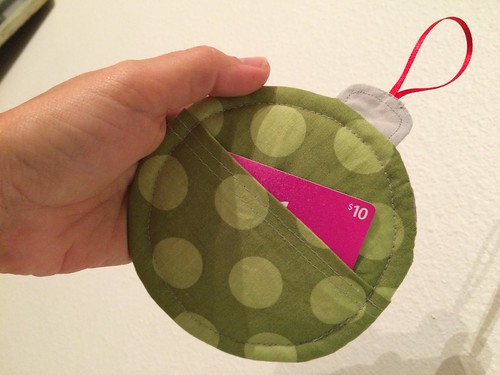
Now your ready to place your gift card in your holder . . .

Untitled

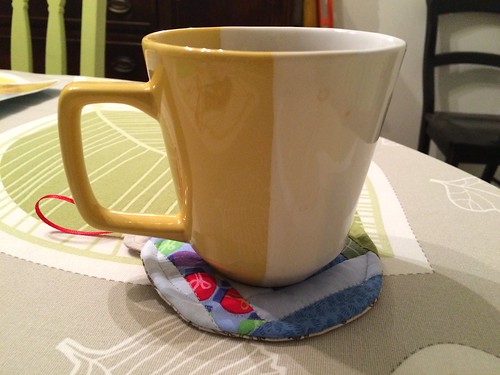
and send it out into a world full of beverages . . .

Untitled

that are waiting for mug rugs :)

Untitled


Now it's time for you to link up and show us all what you've been up to this month!  Plus, you'll get a chance to win the Skinny Dips bundle from Plush Addict.


I can't wait to see all of your  holiday creations and, as always, a big thank you to all of our lovely giveaway sponsors.


Crafty Trimmings
http://www.patchworkelephant.com/

Logo Sew Hot

Plush Addict Logo


Quilting Fabric at the Fat Quarter Shop

Wednesday, February 19, 2014

100 days of school toy wreath

My poor blog is feeling a little neglected this month so I think that it's time to do an update on some of the projects that I've been doing.  I have a really fun blog post in the works that I want to get out, but it's still not quite ready. So, in the interim, I want to share another fun project that I just finished up with my six-year-old.

IMG_8333 
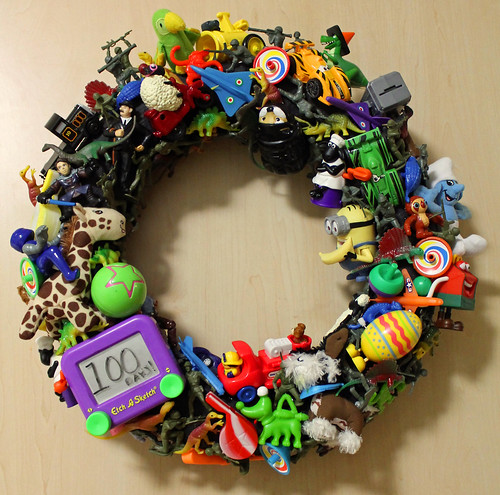
My middle child had to do a 100 days project at his school where he shared a collection of 100 things.  It could have been anything from 100 stickers to 100 toothpicks, but since we had just got done going through the kids' toys to weed out stuff that was going to get donated to our local thrift store, I figured that we could use a lot of those tiny toys to make his teacher a 100 days wreath.

I wrapped the wreath in black ribbon to give it a nice base before we began, and my son manned the toy bag and kept count while I wielded the hot glue gun.

IMG_8337

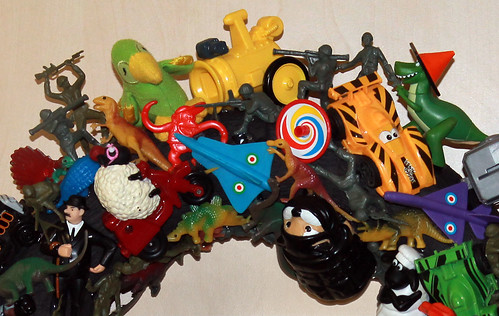
I think we managed to use every fast food, birthday party, broken, and seasonal toy in our house in order to get 100 toys to fit on the wreath.  I especially love the broken etch-a-sketch because the teacher can use a dry erase marker to write different messages on the wreath over the year.  I think that my son's favorite part was the warring army guys at the top.  

IMG_8321

I'm also quite pleased that everything on the wreath was reused from other projects.  The wreath form has been used in a few seasonal wreaths so far this year, the ribbon was left over from Halloween, and the toys were all from my kid's stash of tiny toys.  I do so like a project that makes me feel all thrifty.

Now that I've made this wreath for my son's teacher, I totally want one too!  It's a great way to transform cheap and old toys into something totally new and unique.  I could see it used for a birthday wreath or even a way to save and display special toys.

Tuesday, March 19, 2013

Simple Spring Wreath

Is it that time again already.  Time for a new door wreath.

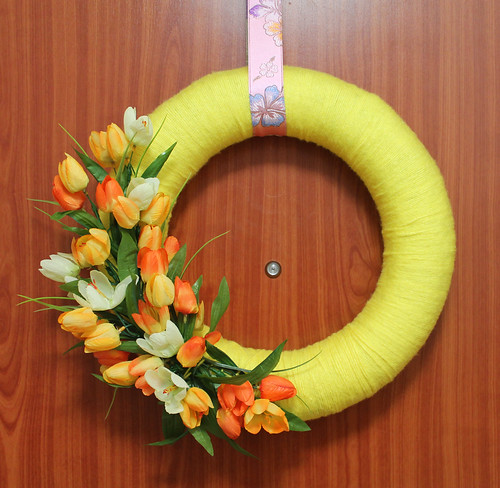
With everything that has been going on here over the last few weeks, I really haven't had much time to redecorate my door, but I wanted to put something up in time for Easter.  So I dug into my stash and came up with a really simple Spring inspired wreath.

IMG_3152a

Yes, it's very simple, but I decided to only use what I already had, and I think that the colors as so bright and cheerful that it doesn't have to have anything else.  I wish that I had had a yellow and orange ribbon to better match the wreath.  I might break down and see if I can find something that works better if I have the time.  I also think that if I want to change it up a little for April or May that  I might just tweak this wreath a bit rather than make a whole new one.

What do you think?  Could I add little umbrellas to this for April?  Any ideas? :)

Monday, March 11, 2013

Puppy Birthday Party

This last week I have been super busy getting ready for my baby girl's 3rd birthday.  It's hard for me to believe that she's already three years old!  The time has flown by.  This year, my little lady wanted a puppy party.  She loves (and I mean LOVES!) all puppies.  Many of our neighbors have dogs, and she gets so excited when she gets to love on them.  So, we went puppy crazy this week at my house, and I'm going to share some of the craft patterns and ideas that we used for the party with all of you here.  Make sure to read to the end so that you can get all the printables for your very own puppy party.

dog-invite-web1

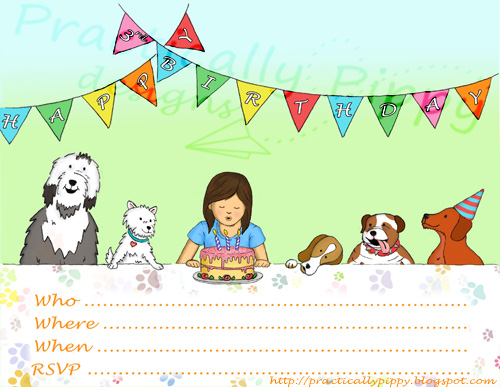
This is the invitation that I drew for my daughter's party.  I think that most of the puppies are more interested in that cake than they are the little girl blowing out the candles :)  My daughter got super excited when she noticed that I included our neighbor's west highland terrier in the picture.  There's also an old english sheepdog, a pointer, a bulldog, and a red retriever in there.

I'm going to count this invitation as my month of March sketch.  Two birds; one stone! Buya!


The Puppy Party Decor!

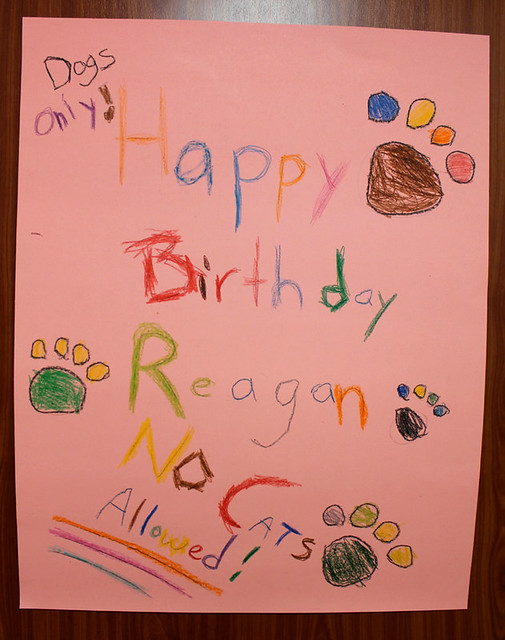
This is the sign that my boys made for our front door to welcome the guests.  Sorry my cat loving friends; dogs only.  NO CATS ALLOWED :)


IMG_2681

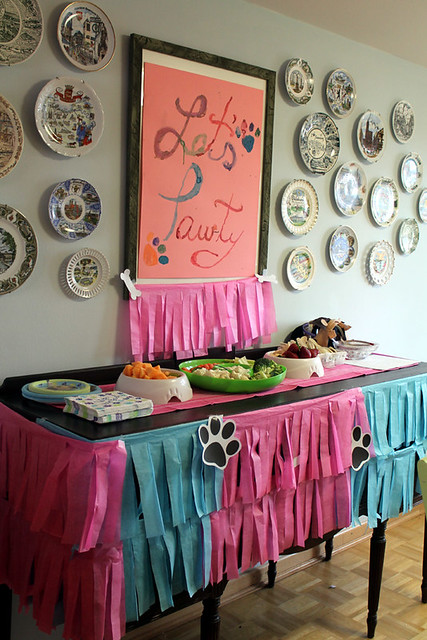
We did some great and practical decor for the party.  I skirted the buffet with some tissue paper and bought some cheap dog bowls to use for the buffet table.


IMG_2558

A nice red and pink tulle swag with balloons hung across the entrance to the dining room!

IMG_2560

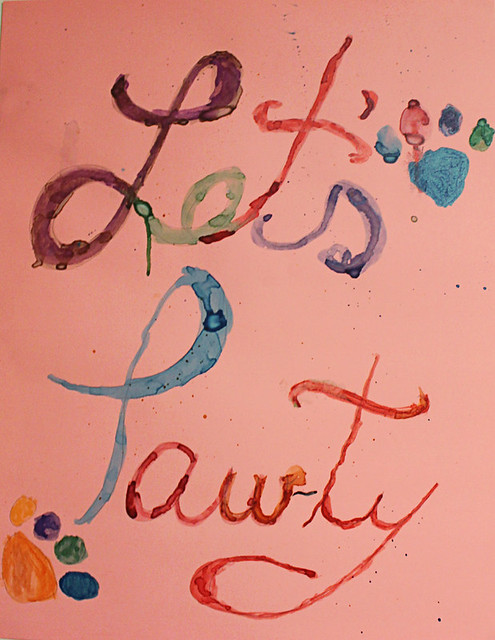
We also made another sign to cover some art I had on the wall over the buffet.  I think my 8 year old did a great job with the water colors.  It's an easy way to keep the theme going without pulling down any of your decor.  It also got me thinking how much my life revolves around art. I think I spent as much time designing the art that we were making for the party as I did on the guest list, games, and food combined.  

IMG_2678

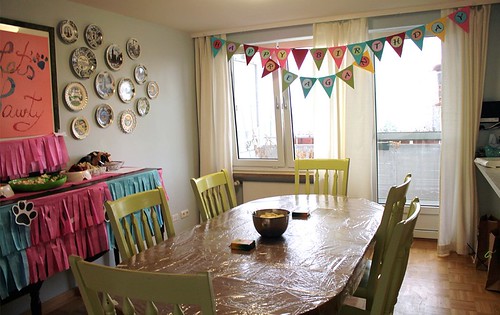
We also made a cute and colorful "Happy Birthday" bunting to hang across the windows.  I wanted to do something simple.  I checked out a few printables available for free online and just didn't find what I wanted.  After a bit of computer work, I came up with a design that was simple, fun, and easy.
.
IMG_2549

I printed out the letter circles and water colored them to get a fun whimsical look, then I glued them onto flags cut from 12x12 cardstock.

IMG_2669


If you would like to make your own birthday bunting like mine, You can download my simple scribbles bunting circles and flag template here.  I've included the happy birthday sign and all the other letters too, plus the flag template.  These can easily be customized to any style that you want by simply changing the flag paper or printing the letters onto colored paper.  I love options, so the choice is yours.

If you do use my templates, I'd love to see what you make!

I"m also thinking about scanning the final buntings and making them available as finished printables.  I don't know if people would rather have just the water colored circles so they can adhere them onto flag papers of their choice of if they'd prefer the whole flag?  I was just thinking that printing 14 colored flags would use a lot of printer ink!  Any opinions?

Puppy Party Fun!

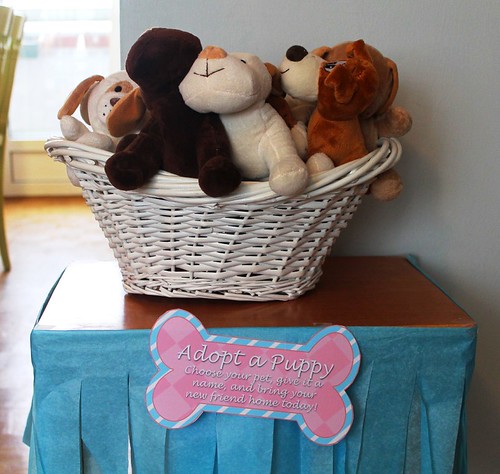
Here is our Adopt a Puppy station.  Each child got to adopt a small stuffed puppy to take home with them.  They each chose a puppy, named it, and gave it a collar (I found these cheap little collar bracelets as our version of the dollar store).

IMG_2555

You can download the bone sign for the adopt a puppy station here.  It comes in the blue and pink and also a green and blue.

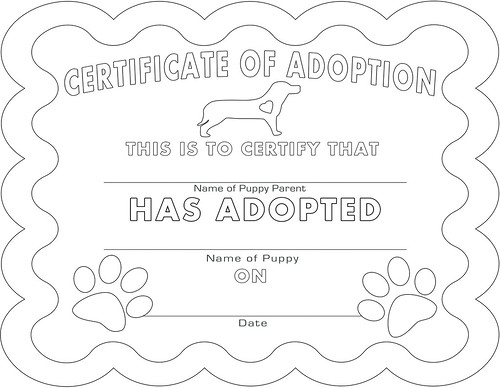
adoption certificate coloring page

They then got to fill out and color an adoption certificate.  Again, I look around the net for a puppy adoption certificate that the children could color in, but didn't find exactly what I wanted so I ended up making my own version.  You can also download the adoption coloring page to use at your party here. This was great fun.

IMG_2582

Here's the birthday girl hard at work on her coloring page :) Notice she and her friend are wearing puppy ears.  The kids got to choose from a variety of puppy ears made from felt and glued onto a headband for their puppy makeovers. We also played games and had cake :) All the toddlers walked away sugared up and exhausted.  I know that I needed a nap when it was all over.

I know that this post was long and I'm glad that you stuck it out until the end :) I hope that you guys can use the printables that I've posted here.  Please remember that the images are for your personal use only and not to be redistributed or sold.

Let me know if you like them or if you have any problems accessing and downloading them.  Enjoy!


Thursday, February 14, 2013

Melted Crayon Fish Valentines Cards

Do you like our armada. :)

IMG_2488

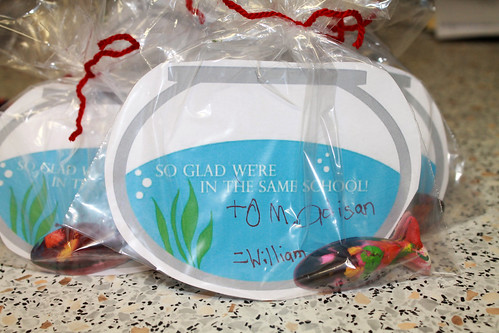
They go with the great little Valentine's cards that the kids and I made-up this year.  There's just something so sweet about little kids exchanging Valentine's.  While I'm in no way opposed to buying the latest in premade Valentine's cards, it's always fun, when we have time, to make them ourselves.  

IMG_2492

This year I found the most wonderful little Valentines printables on the I Heart Nap Time blog.  Aren't they just super cute!  If you need some quick Valentines for the kids, go here to find the original blog post and download the printables.

IMG_2484

In the original example posted on the I Heart Nap Time Blog, they used swedish fish candy or fishy crackers for the fish.  

DSCN3540

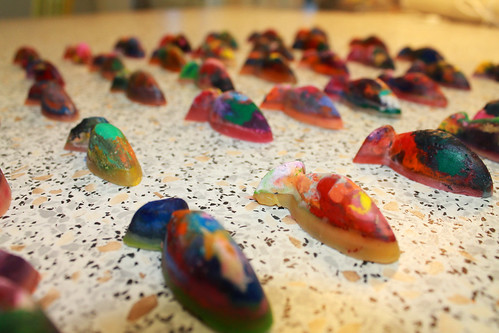
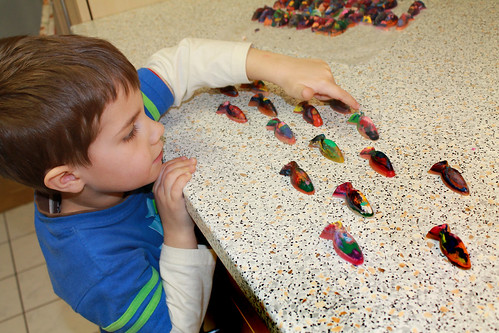
Since I didn't want to do candy or food this year, we made melted crayon fish using a fish ice try from Ikea as our mold.  As you can see, once you use the mold for melting crayons it's ruined for anything else but crafts and shouldn't be used for food or ice. 

IMG_2482

The kids loved cutting up the crayons and choosing the colors for each fish, then we just stuck them in the oven at 250*F for 15 minutes and voila, brand spanking new multicolored fish crayons.  As fun as it was, I don't ever think that I'll do this project again using the fish molds.  The tails kept braking off when I took them out.  I actually found  that if I popped them back in the oven for 1 minute after they had completely cooled down in the fridge, they loosened-up and came out much easier.

Again, thanks Jamielyn from I heart nap time for the great printables.  :)  Anyone else find DIY Valentine's card inspiration online?
Related Posts Plugin for WordPress, Blogger...