Showing posts with label hat. Show all posts

Saturday, March 2, 2013

Crochet Penguin Hat

It's finally March.  Spring is so close I can smell it in the air, but it's still really cold outside.  On that note, I'd like to share my newest crochet hat with everyone.

IMG_2538

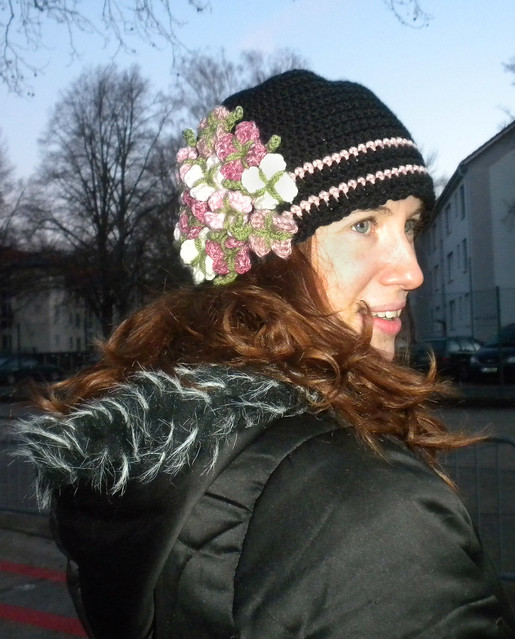
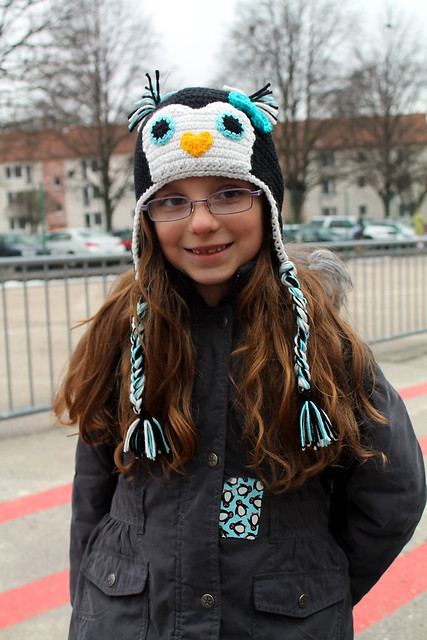
My lovely model L. is sporting the latest in penguin fashion.  She even has a matching penguin sticker, so you know that this girl is serious about her penguins :)

IMG_2532 copy

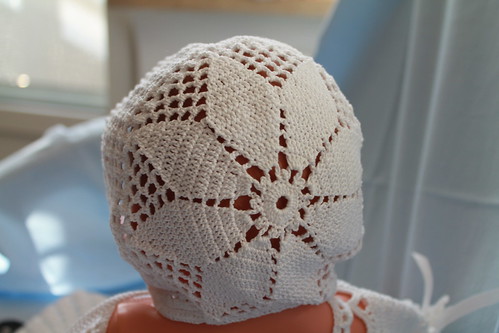
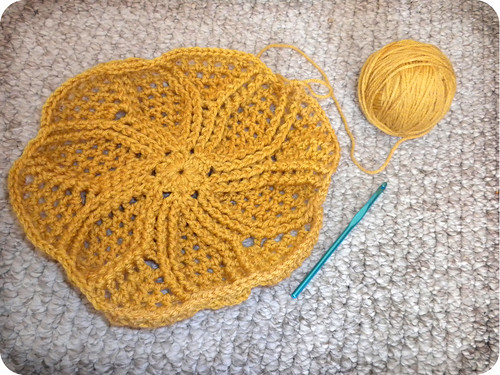
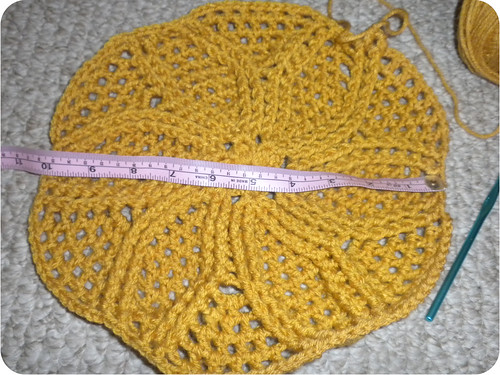
This hat is my own pattern.  The body is made with a black worsted weight yarn and a size G crochet hook.  The base for most of my earflap hats is a 12 DC round increased to the correct diameter and then taken down to the desired length.  For those who want to make their own crochet hats, there are plenty of basic beanie patterns on the internet in all sizes.  I personally recommend that all crocheters and knitters check out Ravelry as an incredible source of free and commercial patterns for beginners and more advanced yarn artists.

IMG_2535

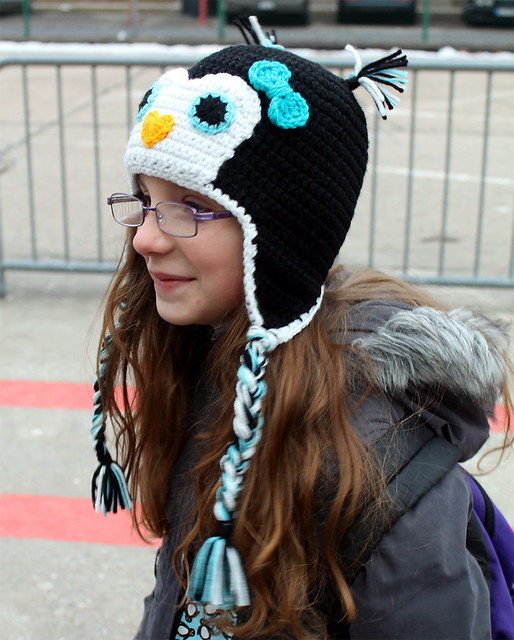
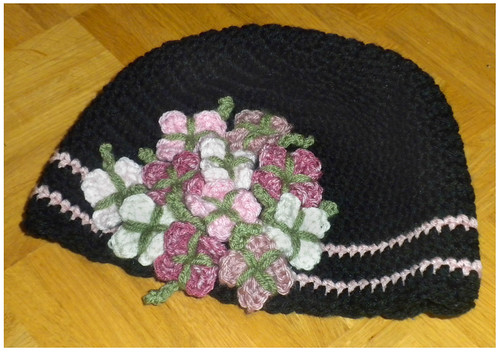
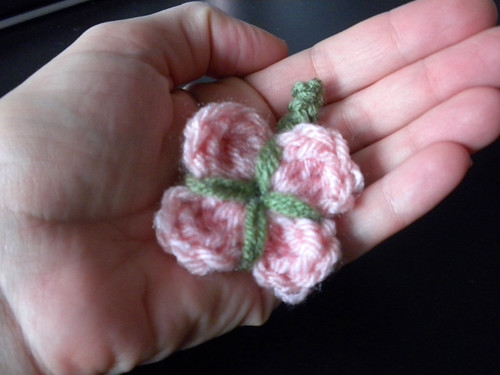
The magic of animal hats is in the appliques and accents.  The white penguin face, the eyes, the nose, the ears, and the bow are all made separately and then sewn onto the hat base.  Final touches like the edging and braids can also make an good hat into something really special.  

Personally, I just love the little yarn ears and the heart shaped beak.  I loved creating this pattern and I'm glad that my customer was happy with the result :)

Since I'm going to be doing some more crochet soon, I'm just wondering what you all would like to see in the future.  Is there an interest in patterns, tutorials, or does anyone have a specific crochet question that they want answered?    
   

Thursday, January 17, 2013

Crochet Christening Gown

Another week has passed already?  Where does the time go?  I've been working on more crochet, some quilt blocks, and school work again.  I tolerate enjoy college, but I think I've gone insane again this semester by taking two classes at the same time.  It's just a lot of stress, and it really cuts into my crafting and blogging time!

But, my lack of substantial progress on other projects gives me an opportunity to share the crochet christening gown that I finished back in the fall.  I started this project without any real plan on who I was making it for.  I was only going to test the neck line to see if I liked it, and then I just kept trucking away at it over the next three months.

IMG_6354

I love the simplicity of this gown accented by a detailed neckline and gathered sleeve.  The pattern calls for size 20 crochet thread, but I went up to size 10 and this increased the gown to a 6 month size.

It's not a hard pattern, but it gets a bit tedious after row 40 and the small metal hooks hurt my fingers if I go for more than an hour.

You can find the pattern here, or you can go to it's Ravelry page here.

IMG_6353

Once I finished the gown, I decided that it had to have a bonnet to go with it.  Yep, that's me.  I spend 3 months making a homeless christening gown and then once it was all done I decide that it had to have a bonnet!  I'm starting to see a pattern in my life :)

I came up with a few different designs for bonnets, since I was making a blessing bonnet for my sister's baby (she already had a christening gown that's been passed down in our family, but the matching bonnet got lost somewhere along the way).

This bonnet has a spiral back and then shells on the sides and front.  It is the more feminine bonnet, and the shells match the gown skirt.

IMG_6356

IMG_6355

The second bonnet is more masculine with a ribbed band at the front and an eight pointed star on the back.  This one is very similar to the one that I made for my sister's little boy, and I was trying to balance pretty and heirloom without going frilly so that it would look right for a boy.


IMG_6358

IMG_6357

One of these day's I'll finish writing up these patterns to share.  I actually sold this gown and one of the bonnets on my Etsy shop.  I just started my shop a few months ago and it really has nothing in it yet, but I'm trying to get some good pictures of the crocheted items that I make so that I can do custom hats and other items through Etsy.  I love to shop on Etsy and have to give credit to all those people who have established shops.  It's not easy getting all the photography together and deciding on prices.

For those who don't know what Etsy is, you have to check it out at www.etsy.com because it's a wonderful site for hand made goods and supplies.  I love shopping there and have many favorite sellers that are just incredible.  It's addictive. :)      

Saturday, January 12, 2013

Antique Rose Crochet Hat

Last week I was telling you all about the numerous crochet hats and legging that I've been making here lately. I wanted to share some images of my designs, but my portable little blue Nikon has been taking kinda iffy pictures (might be operator error) so I haven't had a lot to show.  Thanks to a my beautiful model and customer Kacey, I've got a really nice shot of my new wildflower hat in a chic black and pink color combination that Kacey requested.

DSCN3451 copy
 
 I've made this design in a few color combinations for little girls, but this is my first one in a ladies sized hat. The goal was to keep it whimsical while making it romantic and chic. I wish that you could see the shades of pink and mauve in the flowers a bit better, but black hats are notoriously hard to photograph well.  The colors are much nicer in person.

DSCN3433 copy

I think that the color combination and the scale of the wildflowers brings it all together. Of course, the best accessory that a nice hat can have is a beautiful woman to wear it :)

DSCN3466

I know that the wildflower I'm using has probably been done before, but if anyone wants to make this simple four petal crochet wildflower, I've included some instructions below. I don't really write patterns for other people so I hope this is understandable.

Four Petal Wildflower
Hook: K
Yarn: Worsted weight Vanna's choice

Petals
1. ch 4, slst in 1st ch to form a ring
2. in ring, ch3, 2dc, ch2, slst; *ch 2, 2dc, ch 2, slst* 3 times weave ends around ring and cinch it up slightly.

Green accents
Take a length of green yarn and loop it in each petal spaces twice. Weave ends at the back leaving a long tail to use as the leaf. Using the tail and an F hook, ch 9; pull end through the last ch and then weave excess yarn up and down back through the chain towards the flower. Secure the ends under the flower.

My flowers end up just under 2 inch in diameter.

Friday, November 30, 2012

Diamond Snow Baby Hat

So just a little show and tell today.  I've actually been really busy creating a lot of stuff, doing school (yuck, yuck, don't tell my kids on me), and taking care of the family.  This is the crochet hat that I made up for my daughter using Patton's Canadiana Yarn in White.  I love how this turned out.  I'm calling it my Diamond Snow Baby hat.  At this point, I don't have a pattern written up for this hat.  I sometimes write out patterns, but usually I just freestyle it.  This hat is actually fairly easy to do.  It's a three part hat worked from the bottom up.  Start with the band (blsc), then the diamond pattern, and finally double crochet rounds (w/dec) to the top.  Make a pom pom and you're done.

IMG_6348

Okay, I know that I could have been a lot more descriptive,  but if I make another, I promise to write the pattern out while I'm doing it.

IMG_6350

I hope to show you a few more hats and other crochet items in the near future.  I've been on a crochet kick lately for Christmas so I've got a lot done.  Plus, I'm thinking about doing a de-stashing giveaway or an exchange.  

Saturday, March 17, 2012

Crochet Hat

Hello everyone.  I'm finally done with school this semester, and I'm going to take a little break from classes for a bit to be with my family more now that the weather is turning nice.  Don't get me wrong, school is important, but trying to raise 3 children while doing difficult college classes is tough.  I always feel bad when my family is not getting my full attention.  I will be starting classes again this summer, and I hope to have my degree by next spring!  While I'm taking spring break with my family, I also hope to get some projects completed.

I've been wanting to post pictures of this crochet hat for a while now, and I finally got some pictures together along with a review of the pattern and some tips for anyone who falls in love with this hat too.

This hat was made using the Mindy Beret Pattern by Crochetrend.  You can find this pattern & others at her Etsy shop 
 
DSCN9839


I constructed this hat with an I hook using a worsted weight yarn from Hobby Lobby called "I love this yarn" in sunflower. It is done in the round from the top to the brim as one piece.  The stitches are all basic but you'll need to know how to do a Fpdc, Bpdc, and 3 DCs finished together.  There are lots of online tutorials that will explain these stitches in detail if you aren't familiar with them.

The back of the hat radiates out in forming a very pretty pattern
 
DSCN9843


The FPDCs are used along with the DC and ch spaces to form this radiating pattern


DSCN9645


Tips: There are only two things that I changed when working this pattern. The first was to change how the rounds were joined. Because the first stitch in this pattern is supposed to be a FPDC the pattern says to slip stich around the first chain stitch and then chain 4 so that later it will look like a FPDC ch1. This looks okay, but it is a bit flat compared to the other FPDCs. So, I did a slip stitch into the top of the first FPDC, ch2, then did a regular FPDC around that same first FPDC. This make the first FPDC a tiny bit bulkier than the rest, but it is not noticeable and makes for a cleaner looking join.

I worked the pattern flat and before I started decreasing it measured 10 inches in diameter.
DSCN9650


The pattern gives you two options to finish the brim. One is larger, the other smaller. I wanted to go smaller than both options, so at round 20 I only did 60 stitches. I have a 21.25 inch head size, and I like a more snug fit to my hats so they don't shift. I finished off with two 1 inch buttons, and made a matching scarf to go with my hat.
Related Posts Plugin for WordPress, Blogger...