Wednesday, September 9, 2015

Painting Stripes on Curtains


How to paint stripes on your curtains tutorial

Don't be afraid!  You can paint your curtains and have it look good without a crunchy finish.

Hello everyone.  For those who read this blog, you know that we are a military family.  Being a military family means that we move a lot, and many of the things that we use to decorate one house don't always work for another.  Curtains in particular can be really problematic because window sizes vary so much from house to house, and sometimes I admit that I just want a change.

We just moved, and since I'm keeping the walls white downstairs this time, I really wanted grey striped curtains.  But, at $70 a set, new curtains aren't really in the budget.  Luckily I already had white curtains that I used for our last place and with a little paint they are great downstairs!

I was a little worried that painting stripes wouldn't work well.  I wondered if they'd be stiff, if they would be colorfast, and if the paint would bleed under the tape.  After a little trial and error, I found a really good combination of supplies and tools that put my curtain painting fears to bed.

Supplies:
Acrylic craft paint 8 oz. bottle 
Textile Medium (8 oz. bottle Ceramcoat)
Foam roller
Clothing iron
Green Frog Tape (I tried blue and it bled through)

Directions:

1. Using the ratio on the bottle (my brand used 2 parts paint to 1 part textile medium) thoroughly mix your paint and textile medium together in a container.  Since I did four curtain panels, I mixed five 8oz bottles of white acrylic paint and one 8oz bottle of black acrylic paint with three 8oz bottles of textile medium.

2. Iron and lay out your fabric on a flat protected surface.  Measure the length and decide how many stripes you want.  I wanted five painted stripes with the unpainted stripes on both the top and bottom, so I needed to divide my curtain into 11 equal sections.  I used an 8.25 wide stripe for my curtain.  

3. Since you see your curtain from the top down, it's important to measure and mark all your drapes from the top stripe to the bottom.  This way if there is a slight variation in size from curtain to curtain your stripes will still be parallel.  Make sure to take your time and mark a very straight line across your drapes.
  
tape

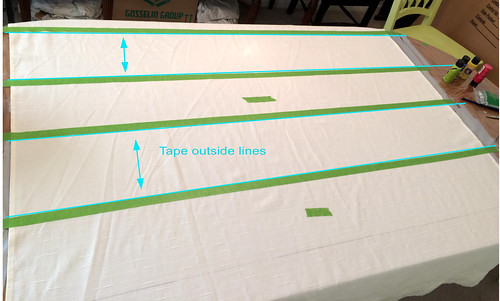
4. Once your lines are marked, you need to tape them using green frog tape.  I tried blue tape and it didn't work well for this project.  Mark the stripes that you are not going to paint with a little piece of tape in the middle so you don't get confused, and then tape on the outside edge of the lines on the stripe that you ARE painting.  You know you've done this step correctly if the stripe you are going to paint looks bigger than the one you are not going to paint. Really rub your tape into the fabric to ensure a tight seal.  
Untitled

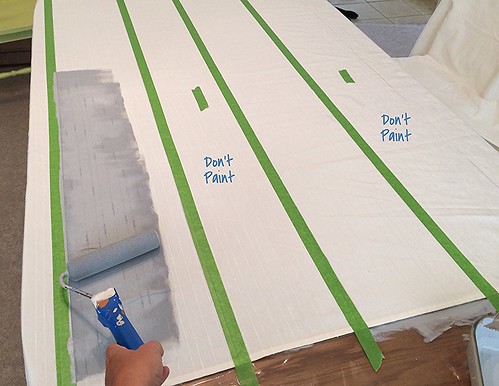
5. Using a foam roller paint the first coat on your stripes. When you are painting the edges of the stripe make sure to use lengthwise strokes parallel to the tape with only a slight overlap.  Let the paint dry without moving the drape from your painting surface and then give it a second coat.

6.  Once the panels are dry you can remove the tape.  At this point, the paint will be somewhat stiff.  If you don't mind this than you can iron and hang your curtains now and be done.  If you do want a softer look and feel though, you are going to have to iron your curtains and then wash them.
Untitled

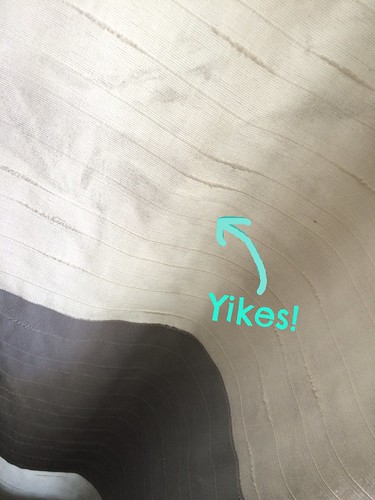
The problem with this is that (depending on your textile medium) curing time can be around 8 days.  On my test curtain, I decided to throw caution to the wind and iron my curtain after only 24 hours and then throw it into the wash.  Yeah, not a good idea.  I had some paint transfer.  After a second wash, the transfer went away, but I then decided to follow the manufactures instructions for the rest of the panels.  

7. With a hot iron (set at a temperature appropriate for your fabric) thoroughly iron your stripes and let them cool.  Wash them in cold water with very little detergent and then dry them (note: if you didn't pre-wash to prevent shrinking you might want to be careful here and not dry them in the clothes dryer).  
Untitled

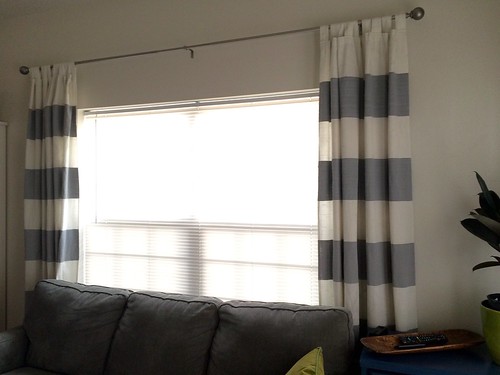
Now all you need to do is hang your curtains and enjoy! I loved how mine turned out and I hope that this tutorial helps anyone who's on the fence about painting their curtains to give it a go too.

Thursday, June 18, 2015

Blowing Bubbles

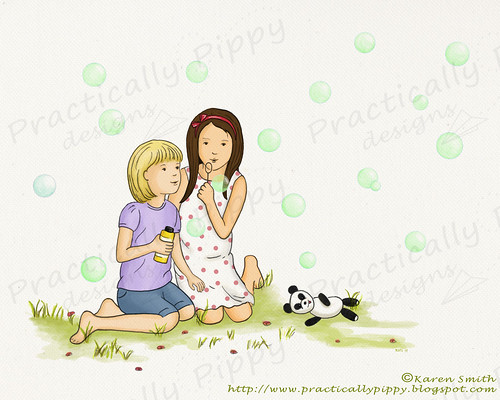
Just in time for the month of June, I have a finished sketch to share with everyone.  Actually, this one has been done for a bit now, but I've been waiting on the right month to share it, and June is a perfect for a bubble sketch.  "Blowing Bubbles" is hand drawn, scanned, and then colored using Photoshop.

bubbles

I've actually been doing a lot of drawing lately for various groups (mostly t-shirts and logos), but doing illustrations that remind me those quiet childhood memories is really gratifying.  I really like how this one turned out because it reminds me of those special, small moments that we didn't realize were the big important moments until much later in life.

bubblescloseup

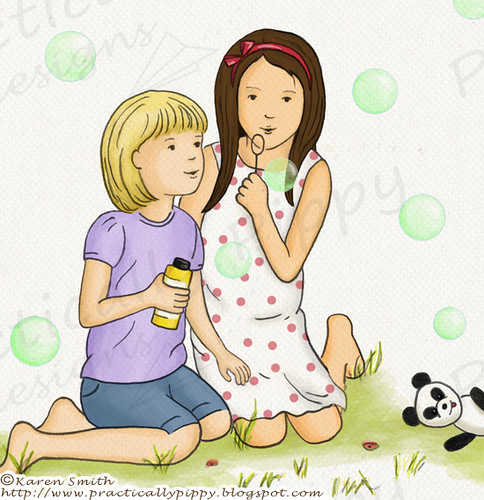
I drew this up as a gift for my big sister's birthday.  If you're wondering, yes, that is my sister and I when we were kids.  I wanted to do something special for her.  She likes art that has personal meaning and whimsy so this is right up her alley.  Plus, her favorite panda bear is now forever immortalized as well.

I hope that you've enjoyed the drawing and perhaps have even been inspired to go out and make some special memories this summer with the ones that you love.


Monday, May 18, 2015

Christmas Mice tutorial

Welcome to the May HO, HO, Ho and On We Sew link party!

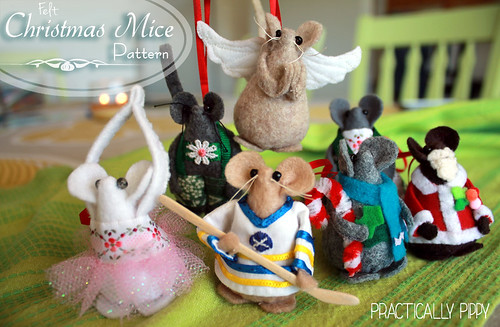
This is my second year participating in the Ho, ho, ho link party and I'm thrilled to be this month's host with a fun little Christmas Mouse Ornament pattern.

Christmas Mice sewing tutorial

Every month on the 18th, Paula at Mud, Pies, and pins and Fiona at Celtic Thistle Stitches will be hosting a link party where we can showcase our work and get inspired and motivated by each other to get going on our Christmas decor and gifts throughout the year. There is also a wonderful giveaway for entering the linky party.


This month's prize was kindly provided by the wonderful Katie of Japan Crafts.


Katie has donated this lovely Mini Rice Bag Kit for one lucky winner, it is just perfect for gift wrapping something special.

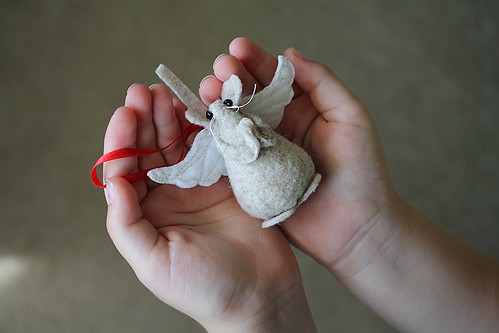
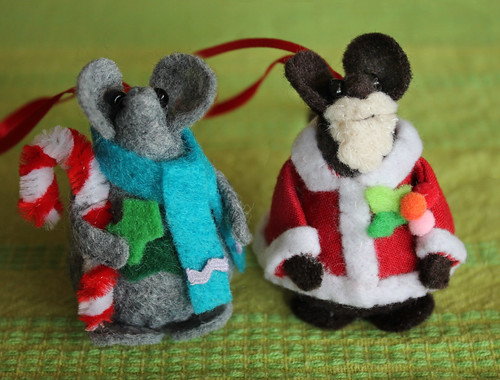
This month I'm happy to share a Felt Christmas Mouse Ornament tutorial with you.  These little mice are super easy and fun to make and personalize.  This is one of the projects that my mother used to teach me how to sew, and  I remember spending hours making and dressing my mice using any left over fabric scraps and bits of haberdashery I could find.

IMG_8477

To make these mice you will need:
Printed pattern sheet
Felt in any desired mouse color
Stuffing
Thread
Glue (optional)
Black beads in size 6/0 or similar
1/8th inch ribbon for hanging
scraps of fabric, ribbon, buttons, etc for decorating your mouse

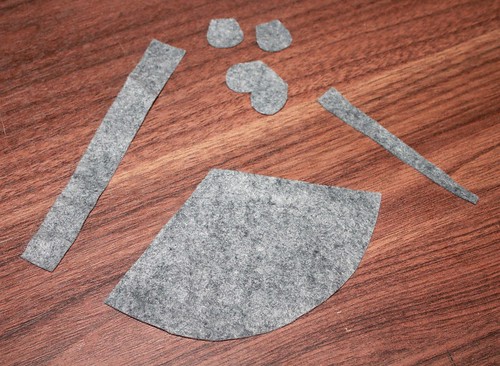
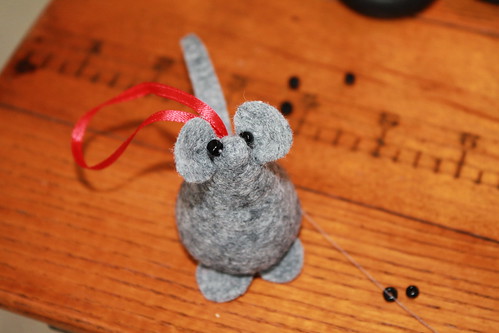
No matter how you dress your mouse, they each start with the same basic felt body.  Download the pattern here and print it out without scaling.  Using the pattern, cut each piece out of your felt.

IMG_8419

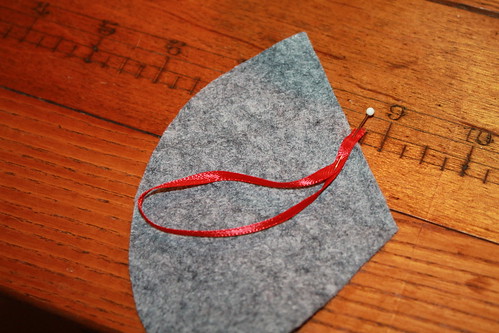
If you will be using your mouse as an ornament, you will need to cut a 7 inch piece of ribbon out now and pin it to your mouse on the dot as shown.  Make sure to put the ribbon on the inside of your mouse so that it will be on the outside when you flip your mouse right-side-out.

IMG_8430

While you can easily sew each mouse by hand or even glue them together, I use my sewing machine to put together the main part of the body and the arms.  Fold the edges of the body together and sew them using a 1/4 inch seam allowance.

IMG_8397

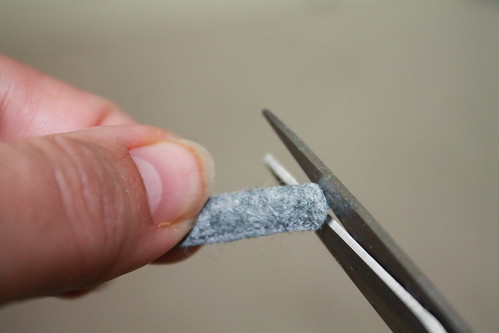
Cut the excess fabric off the tip of your mouse body before flipping it right-side-out so that you will not have to fight with this bulk later.  Flip your mouse body right-side-out and use a pointy tool to help shape the tip of the mouse.

IMG_8453

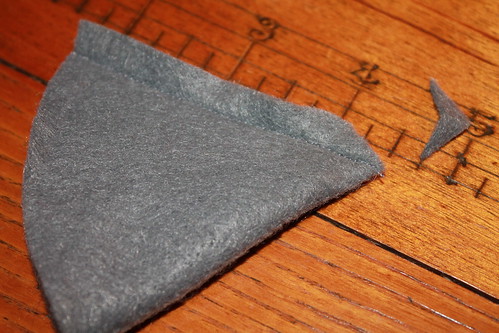
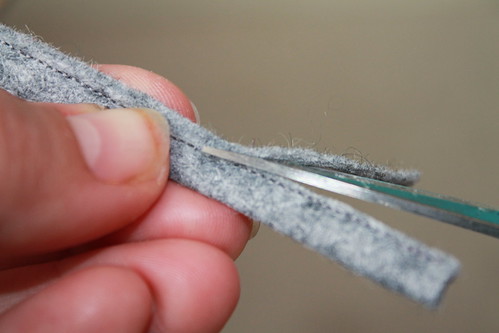
While you're still at your sewing machine, fold the arm piece together along the dotted line and sew the raw edges down using a narrow 1/8th inch seam allowance.  You will then need to carefully trim away the excess fabric above the stitches so that the arm wont be so bulky.

IMG_8433

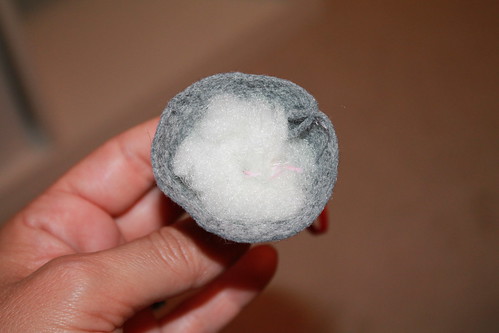
Set the arm aside for now and fill your mouse firmly with stuffing to about a 1/4 inch from the top.

IMG_8434

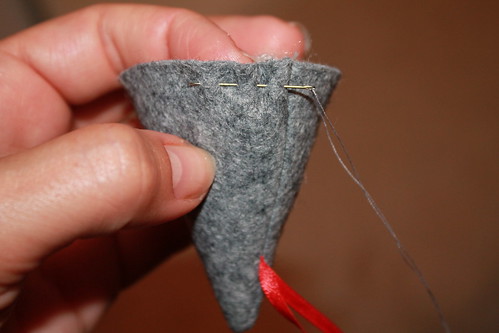
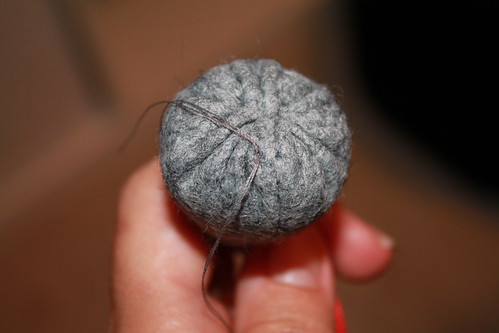
To close your mouse you will need to run a gathering stitch all the way around the base using a DOUBLED UP length of thread. 

IMG_8435

Leave a long enough tail of thread on both ends so that you can use them to tightly pull your mouse body closed.  While you're pulling the bottom closed, tuck the seam allowance into the mouse with your finger or a pencil so that you end up with a flat bottom and secure it with a knot.

IMG_8441

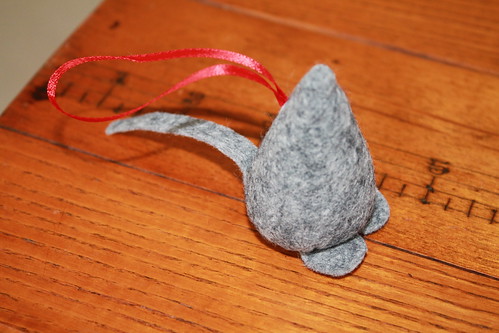
Position your mouse feet and tail as shown and either sew or glue them to the bottom of the body. 

IMG_8456

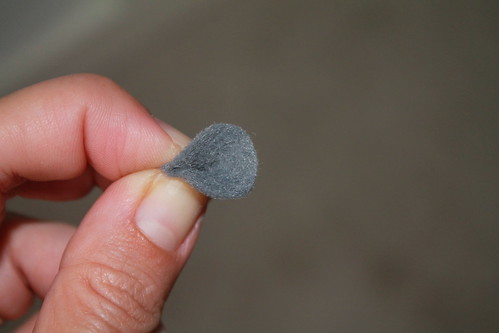
Pinch your mouse ear together along the dotted line and use a dot of glue or threat to secure the fold.

IMG_8443
 
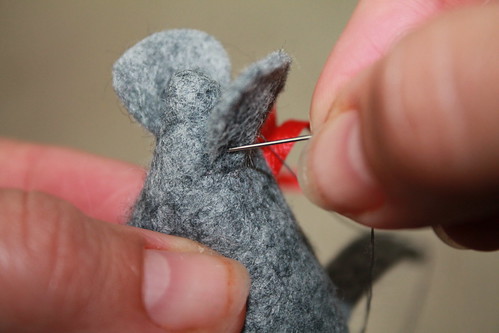
Positioning the bottom of your ear about 1/2 down from the tip of the mouse, secure it in place with either thread or glue.


IMG_8447

Now it's finally time to sew or glue the beads on either side of the head above the ears for the eyes.  This is my favorite part because it is when the mouse really starts looking alive to me.  The next best part is putting on the arms.

You may be wondering at this point why the arms are going on last.  Wouldn't it make more sense to put them on earlier?  Well, if you are going to leave your mouse naked, you could do it before the ears and eyes. The problem is that how your mouse is dressed is going to effect how you place and secure down the arms.

IMG_8455

The arms can be the most expressive part of your mouse and how you position them is going to be a huge part of who your mouse is.  No matter how you bend the arms, I like to round off the tips to give the appearance of hands.

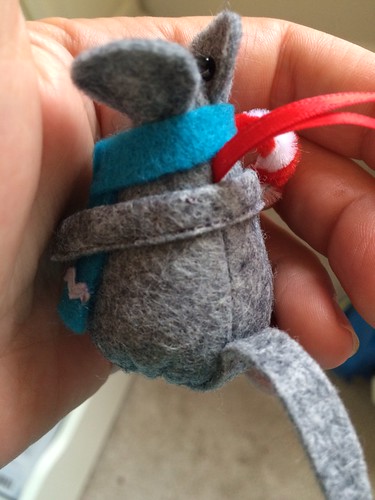
Mouse back

The winter mouse above is a good example of how I normally place the arms by wrapping them around the upper body.  You'll notice in the pattern that the arms seem extremely long.  This is so you'll have enough length to bend and shape your arms into place, and you can easily cut off any excess length.

IMG_8496

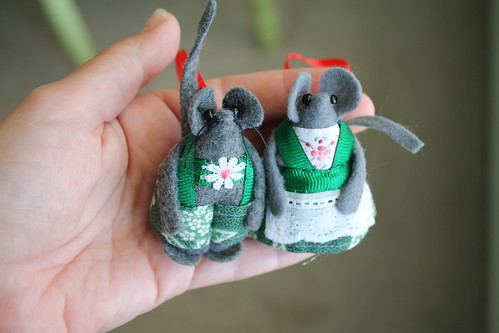
Both these German mice have arms that are wrapped around their bodies because her dirndl and his lederhosen don't interfere with that placement.  

Yeah, I had to make some German mice in honor of all the Christmas seasons I enjoyed in Germany :)

IMG_8471a

Adding a shirt or coat to your mouse, like with this Santa mouse, means that you will need to cut your arms in half and stuff them up the sleeves of the shirt.  Wrapping them around the back is not only bulky this way, it is nearly impossible to get a shirt on a mouse that has his arms already attached.

IMG_8467

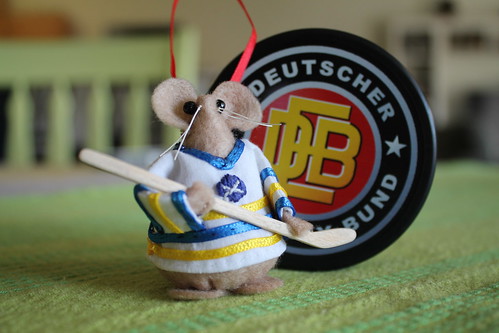
I really love this Buffalo Sabres hockey mouse because we are big fans in my house (and I have to admit that I loved whittling the hockey stick).  He was great fun to make and is a good example of how to take the basic shirt pattern (which is included) and customized it.  The shirt and coat patterns can easily become nurse scrubs or Santa coats.  

I'm not going to give a full tutorial on how to make the mouse clothes here, but I do want to say that the patterns included for the shirt and coat are meant to be stitched with a very narrow seam allowance of around an 1/8th inch.  Also, the length of the sleeves and coat are best finished by hand when the clothing is on the mouse and details like the V-neck worn by the hockey mouse are clipped once the basic shirt is on the mouse. 

IMG_8484

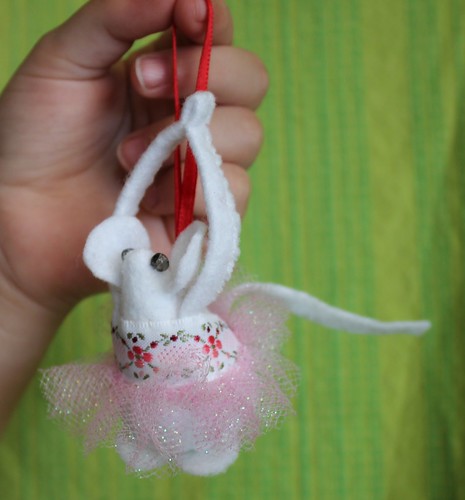
But, you don't need to spend time sewing mouse clothing to have a really great and fun mouse.  This ballet mouse looks great and is dressed with a piece of ribbon and some tulle. 

With a little imagination, you could really do anything with one of these mice and they make great gifts for friends and family.

Now it's time for you to link up and show us all what you've been up to this month!  Plus, you'll get a chance to win the mini rice bag kit from Japan Crafts!


I can't wait to see all of your  holiday creations and, as always, a big thank you to all of our lovely giveaway sponsors.


Crafty Trimmings
http://www.patchworkelephant.com/

Logo Sew Hot

Plush Addict Logo


Quilting Fabric at the Fat Quarter Shop

Wednesday, May 6, 2015

Superhero room

Hello to all my blogging friends out there.  Let me first say that I have really missed you all over the last couple months!  Life's been a roller coaster since moving to Texas and blogging just got pushed to the sidelines for awhile.  Life is still going full speed for me, but I've decided that waiting for it to calm down before I start blogging again is just not realistic or practical.  There rarely is a perfect time to start anything; you've mostly just gotta jump in and do your best. So, here I am, jumping back in!

IMG_8295 copy

My blogaversary was 3 years this January!  So let's celebrate with cupcakes and superheros!  

IMG_0344

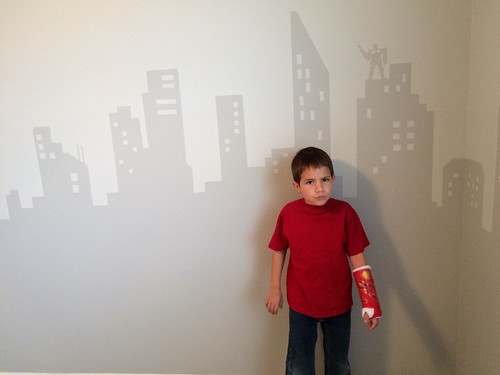
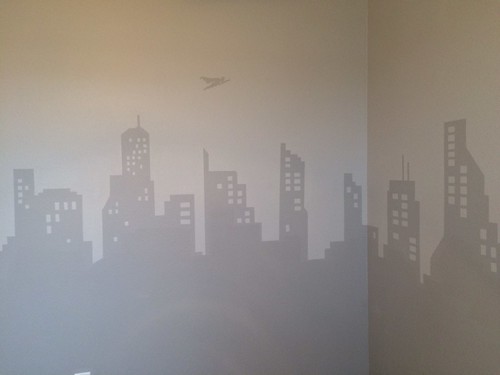
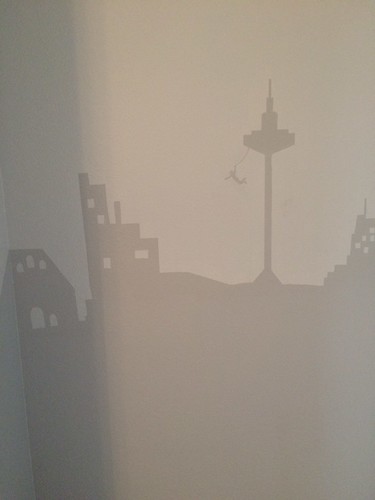
My youngest boy, who looks a smidge grouchy in this photo, wanted a superhero themed room.  So, armed with a few rolls of tape and a paint brush, I decided to give him a superhero city!

I wish I had some pictures to show you the work in progress, but I forgot to take them, and really it just involved taping of the edges of buildings until I liked the look of what I was making.  I didn't draw them out beforehand but just let the city develop as I was working around the room.  Then I went back in and added windows with tape as well.

IMG_0334

My little guy chose all the heroes that he wanted included in his room.  First, we have Superman flying over the city.

IMG_0335

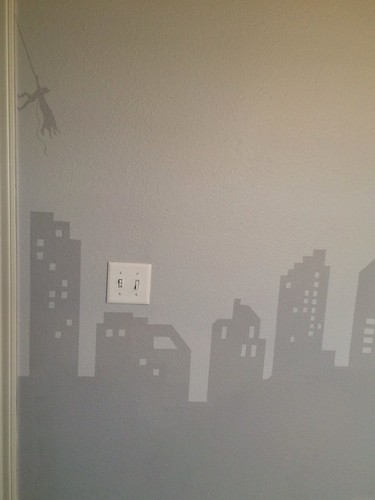
Then Batman climbing the wall . . .

IMG_0342

and Spiderman swinging from the water tower.

IMG_0339

Ironman was a must since my son thinks that he is one of the coolest superheros on the planet.  I did draw the superheros out before painting them.  You can still see my pencil marks on some of them, but I'm not stressing about it since it actually helps define the edges of the heroes on these textured walls.

IMG_1030

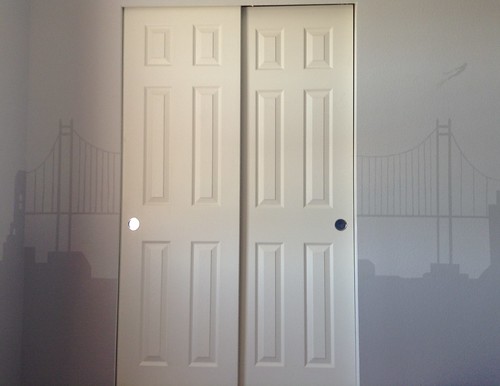
I like Ironman too, but my favorite part of the the mural is this bridge spanning the closet.  It was fun to think out and paint.

IMG_0341

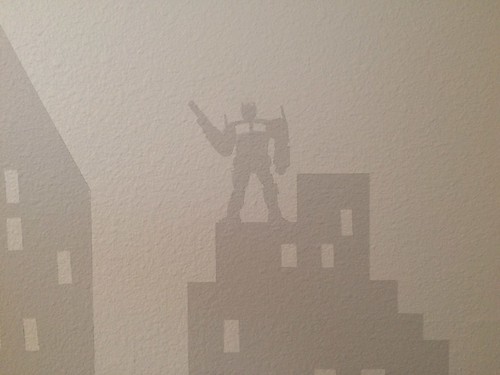
The last superhero is actually a transformer, but hey, Optimus Prime is a hero too!

IMG_0348

I really enjoyed making this mural for my son and hope to add a few more projects to his room before it is completely done.  He still needs some lamps, pillows, and maybe even a quilt this year.  Plus, I'm still working on projects for the other kid's rooms too that I will be sharing in the future as well.

Friday, November 14, 2014

A funny thing happened on the way to Texas

After a series of botched airline tickets and funny taxi rides we are finally in our new Texas home!!!  Germany gave us an amazing four years, but it's good to be back in the United States so that we can be nearer to our families.

image

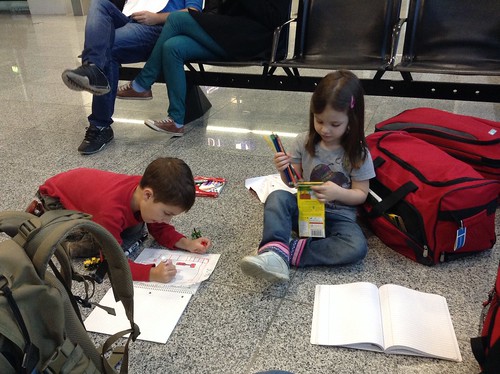
Our actual flight was pretty uneventful, but catching the flight was an interesting series of events that involved our original tickets having the wrong date printed on them which left us scrambling to get a new flight from a different airport the next day.

This is where the funny part comes in!!!  Because we had to change our flight, we ended up landing in Dallas for our layover to San Angelo.  My daughter needed a bathroom break and while we were standing in line at one of the many bathrooms at the Dallas airport I told the woman in front of me that I really liked her dress and it was just like one that another blogger I follow made.  She asked about my latest post too and we realized we both follow each others blogs, and I was actually talking with the maker of the dress. Not only that, but we've been emailing back and forth the whole week about my 1248 triangle quilt!
image

It was crazy good to meet Tracey from the finding joy in the little things blog at the Dallas airport while we were both on the way to different places.  How insane is that!!!

It was great meeting you Tracey and I hope that you enjoyed your California trip.

Thursday, October 30, 2014

1248 Triangle Top update

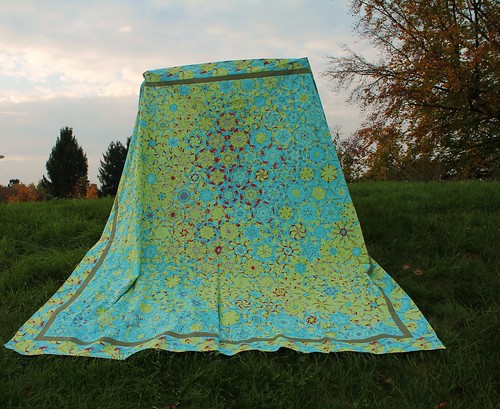
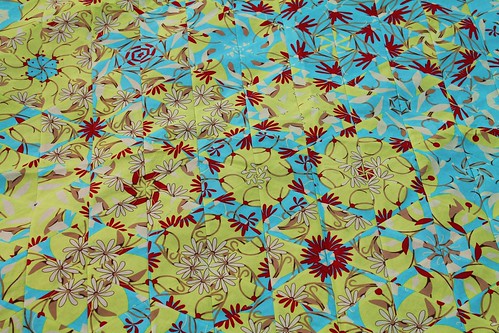
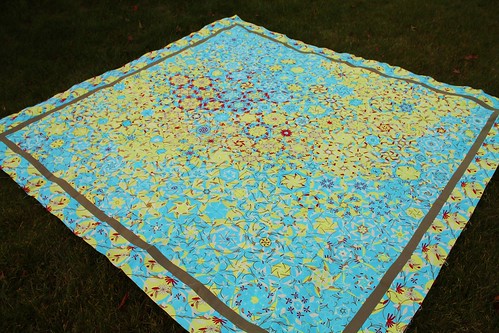
I've been wanting to post these updated photos of my 1248 triangle quilt all week, but it's been hard to get any good pictures while we are in the process of moving.  This queen sized quilt is all done and ready to be quilted as a Christmas gift for my sister and her husband!  It doesn't hurt that this year late November is their 2nd wedding anniversary, which is the cotton anniversary!

IMG_7812

I don't think that these photos really do the colors on this quilt justice (I hope to get some better one's post quilting), but I do hope that they show the cool design.

IMG_7804

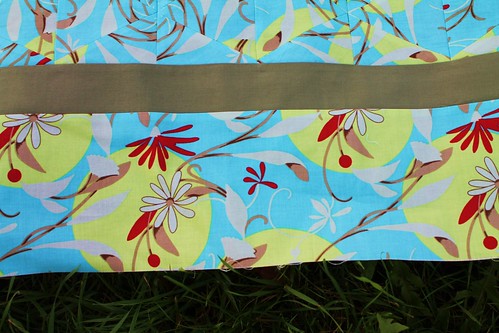
I love how the skinny solid border stripe separates the one block wonder blocks from the original fabric.  It really shows how the technique can change the pattern.  

IMG_7815

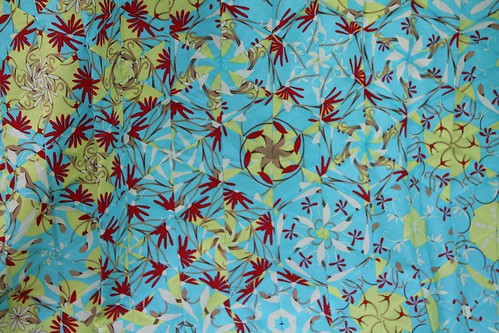
I really can't pick any favorite hexagons because I like too many of them!  Although, I do like the ones that form swirls and stars a lot.

IMG_7807

I think that I might have to make another one of these now because this one was so fun to do!

IMG_7830

I also love how easy the pattern came together.  The book talked about laying the hexagons up on a design wall and tweaking them over the course of a few days or weeks to get a pleasing pattern, but really, I don't have that kind of time.  I took a much more serendipitous approach to the design process and laid them out on the floor and took an hour to re-arrange while the kids were in bed.  It came together pretty fast compared to how hard I thought it would be, and I love how it flows.  

I can't wait to get this quilted.  One more item checked off my Christmas to do list!!!  
Related Posts Plugin for WordPress, Blogger...